This is the long version of the quick start: every output, every setting, and the parts of the Library that keep a team organised. Watch the video, or follow the steps below.
1. Your Library
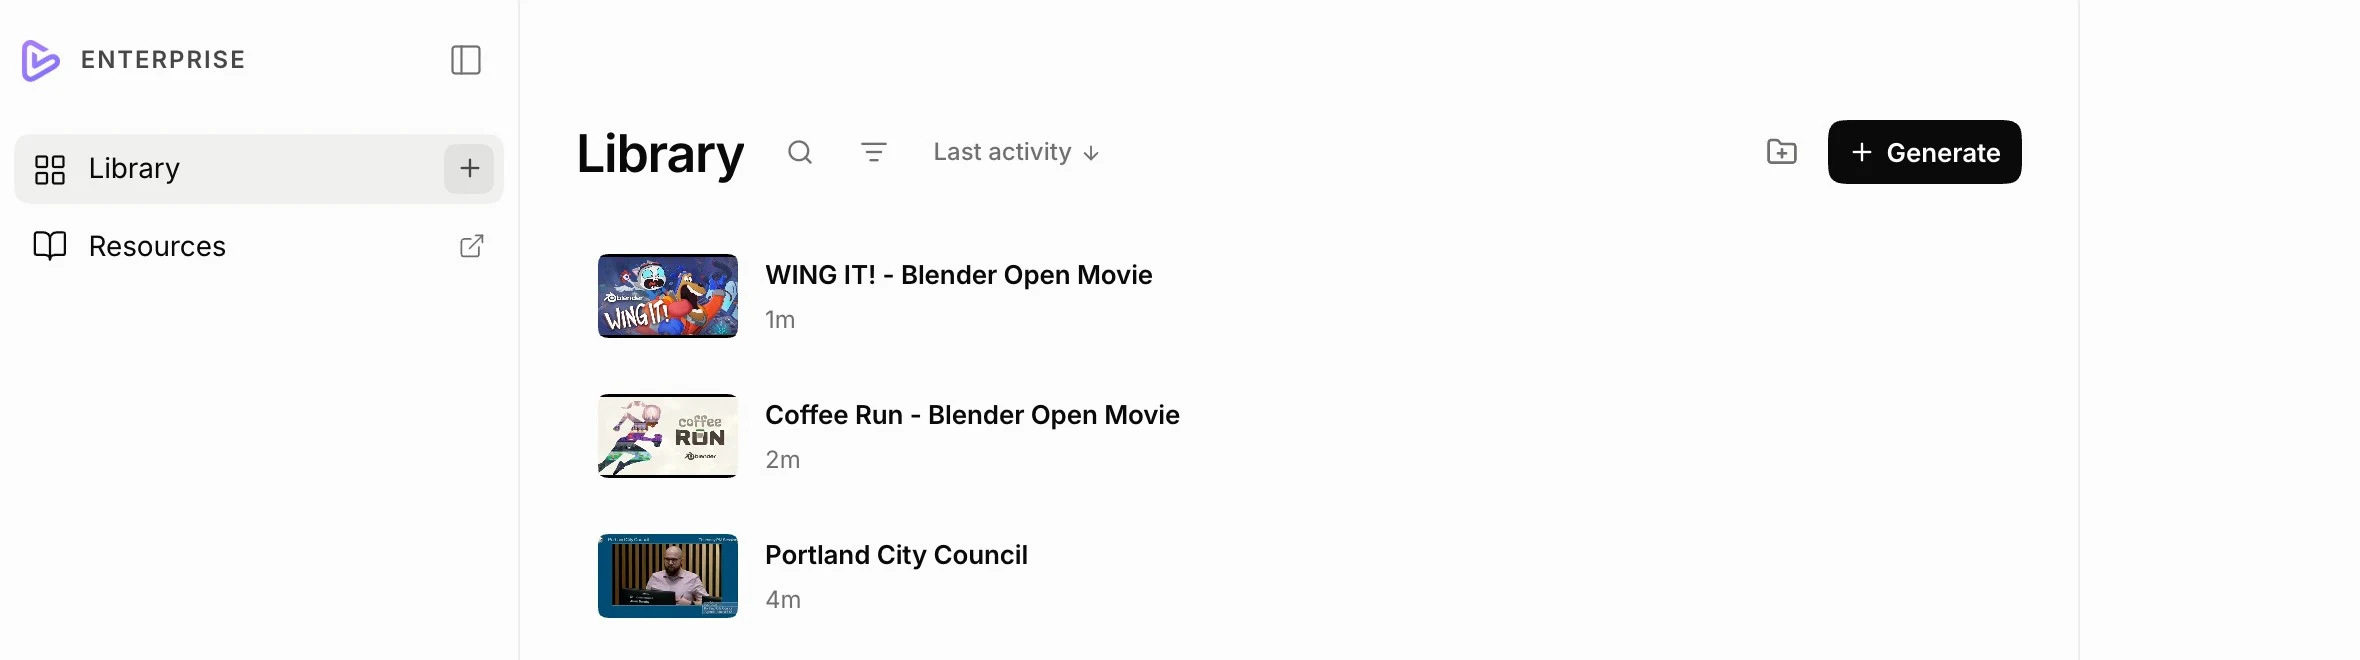
This is your Library, home for all of your team's videos. To get started, click Generate at the top right.
2. Add your videos
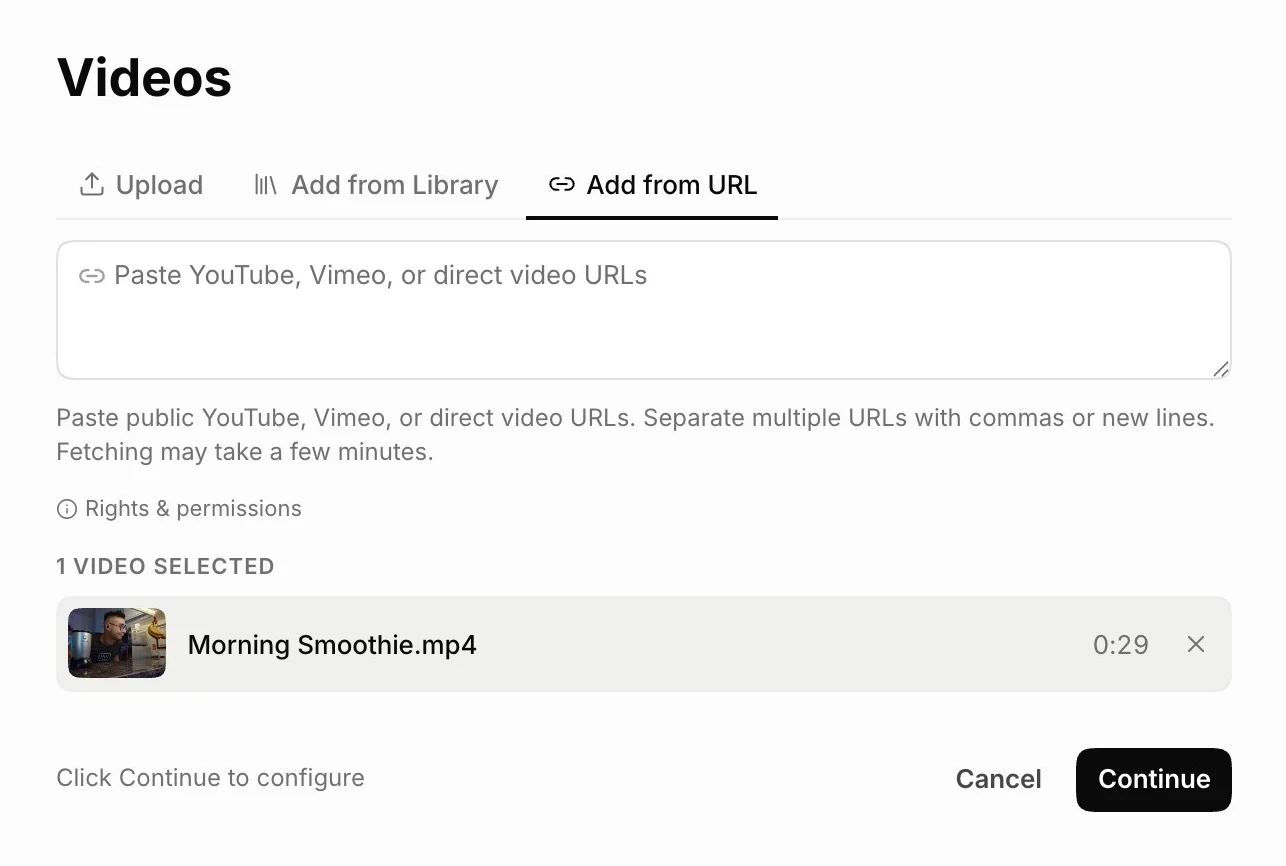
Upload a file from your computer. Videos you have added before show up under Add from Library, so you do not have to upload them again. Or paste video URLs under Add from URL. You can add several videos at once. Then click Continue.
3. Choose your final output
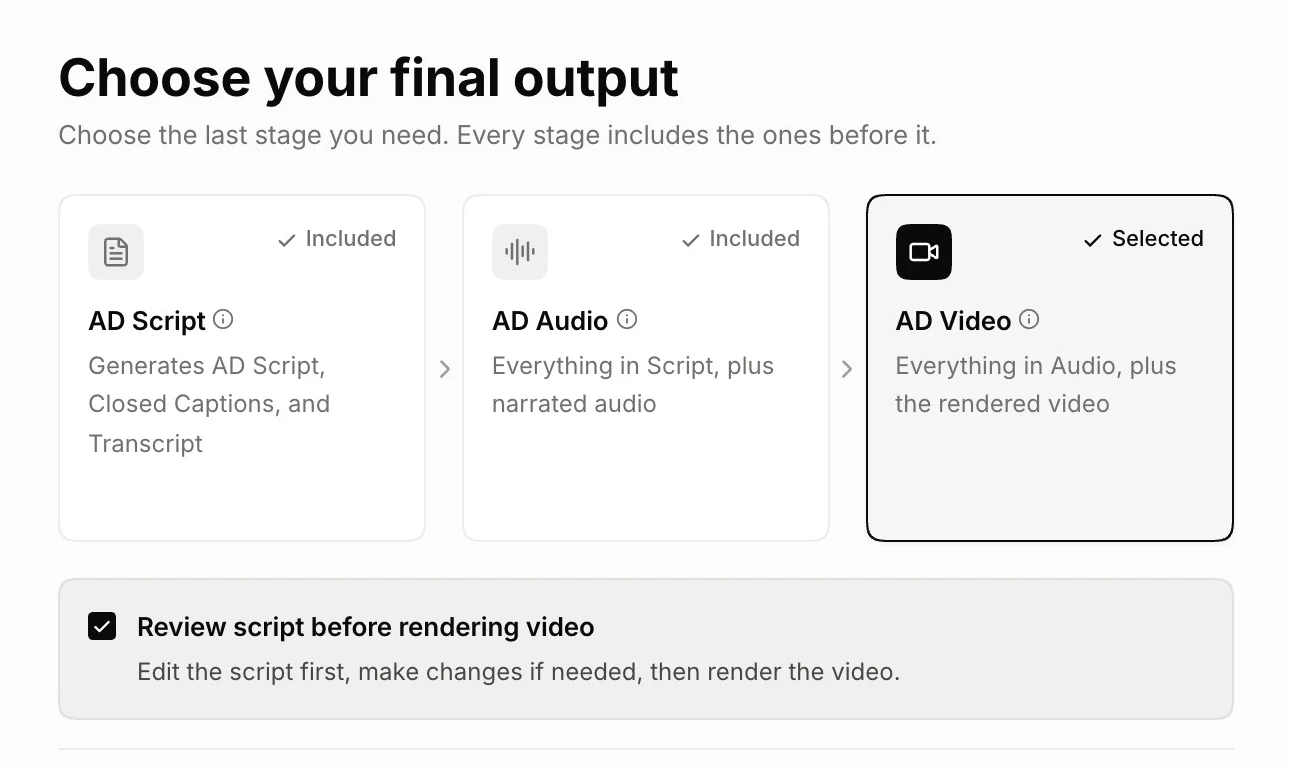
- AD Script is your descriptions as text. Players like Able Player and Kaltura can read it aloud as the video plays.
- AD Audio is the narration as audio, and it includes the script. With Standard AD, you can add the audio as an extra track on platforms like YouTube, Vimeo, or Kaltura, so viewers can turn descriptions on.
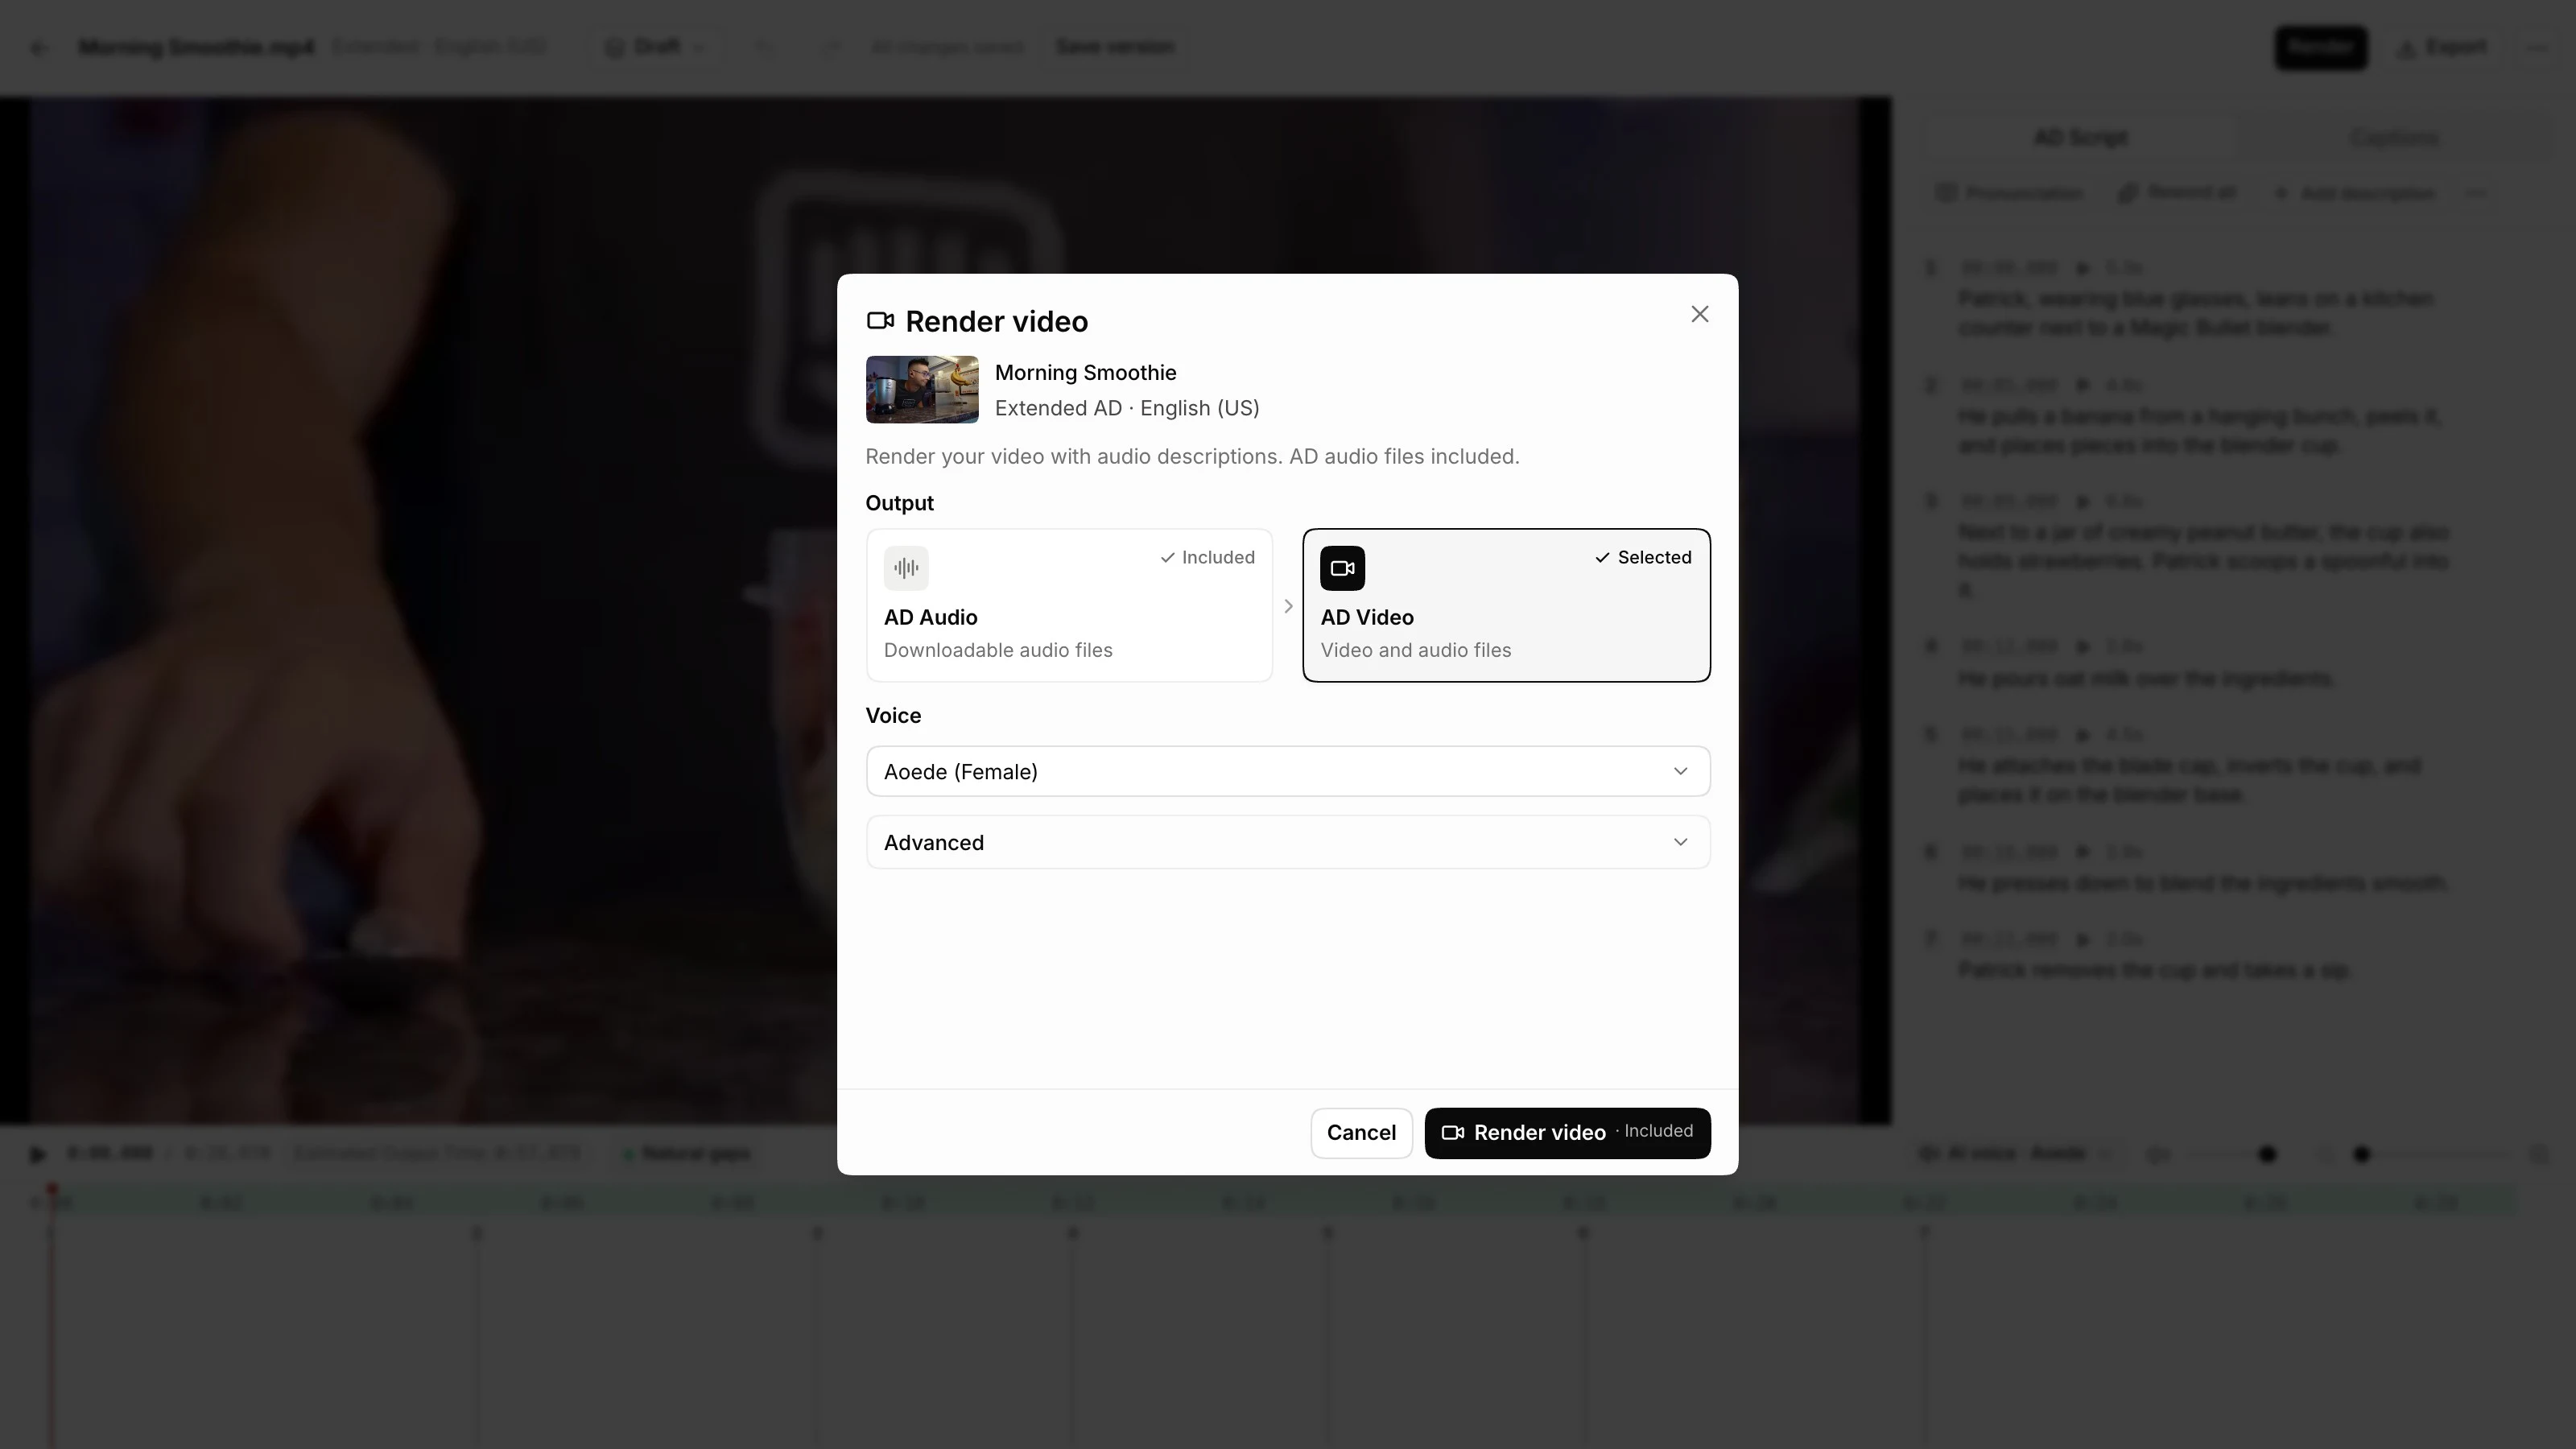
- AD Video is a finished video with the descriptions built in, so it plays anywhere. It includes the script and the audio.
Whichever you pick, you also get captions and a transcript. Most people choose AD Video and tick Review script before rendering video, so they can check and edit the script before the final video is made. If you have a backlog or you are in a rush, leave it unticked: ViddyScribe does a good job out of the box, and all your outputs are ready to use right away.
4. Choose the AD type
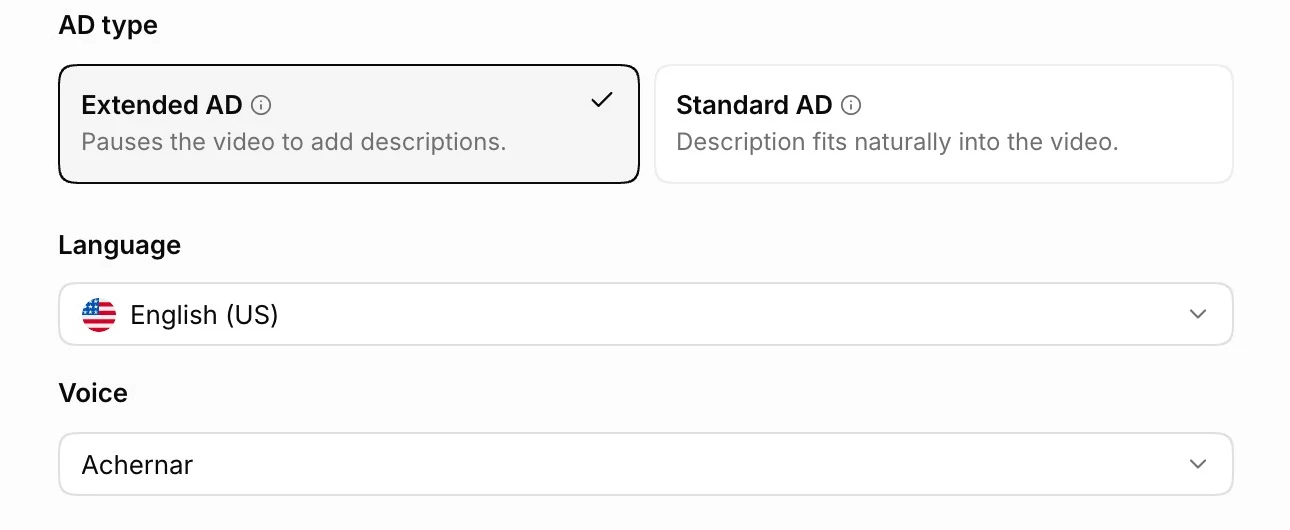
Standard AD fits descriptions into the gaps between speech, so your video stays the same length. It is a good fit when there is room between lines, or when you need a separate audio track. Extended AD pauses the video for each description, so the video gets longer. It is best for lectures, presentations, and meetings where people talk most of the time. To change it later you would have to generate again, so choose the right one for your needs.
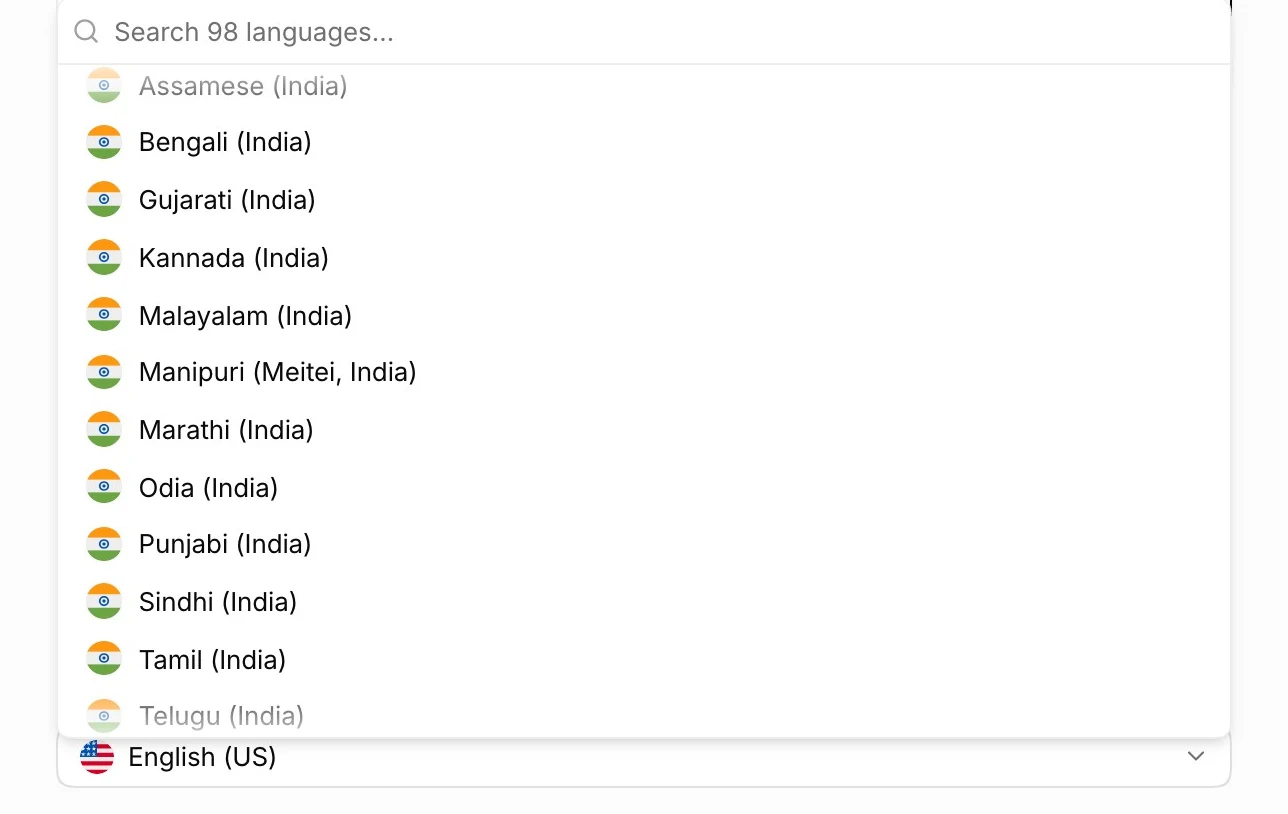
5. Pick the language, voice and instructions
Pick any one of the languages.
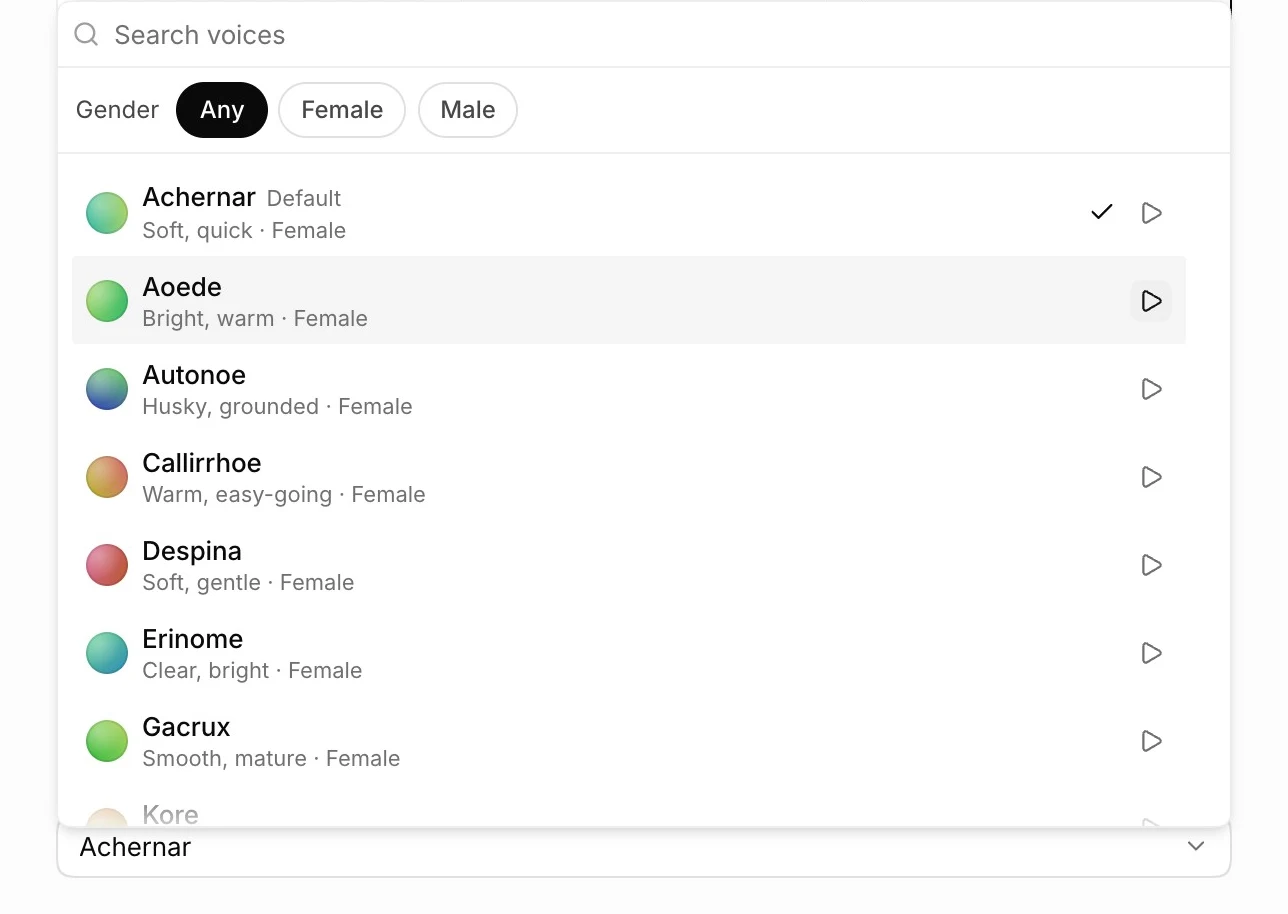
Then choose a voice. Click play to hear a sample.
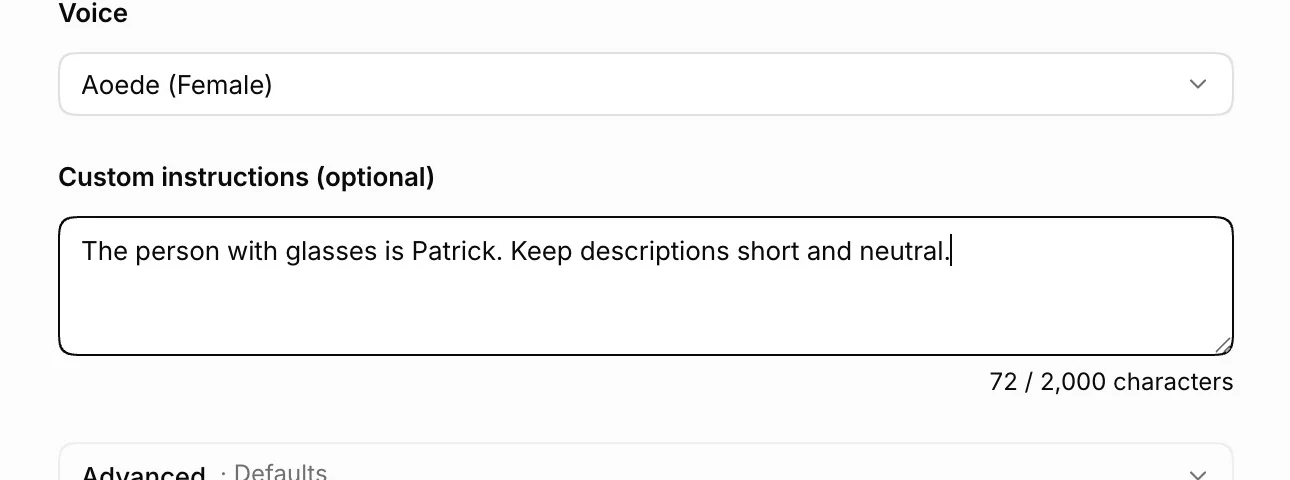
If there is anything ViddyScribe should know, like how to refer to someone or the style you want for your descriptions, add it in Custom instructions.
6. Fine-tune under Advanced
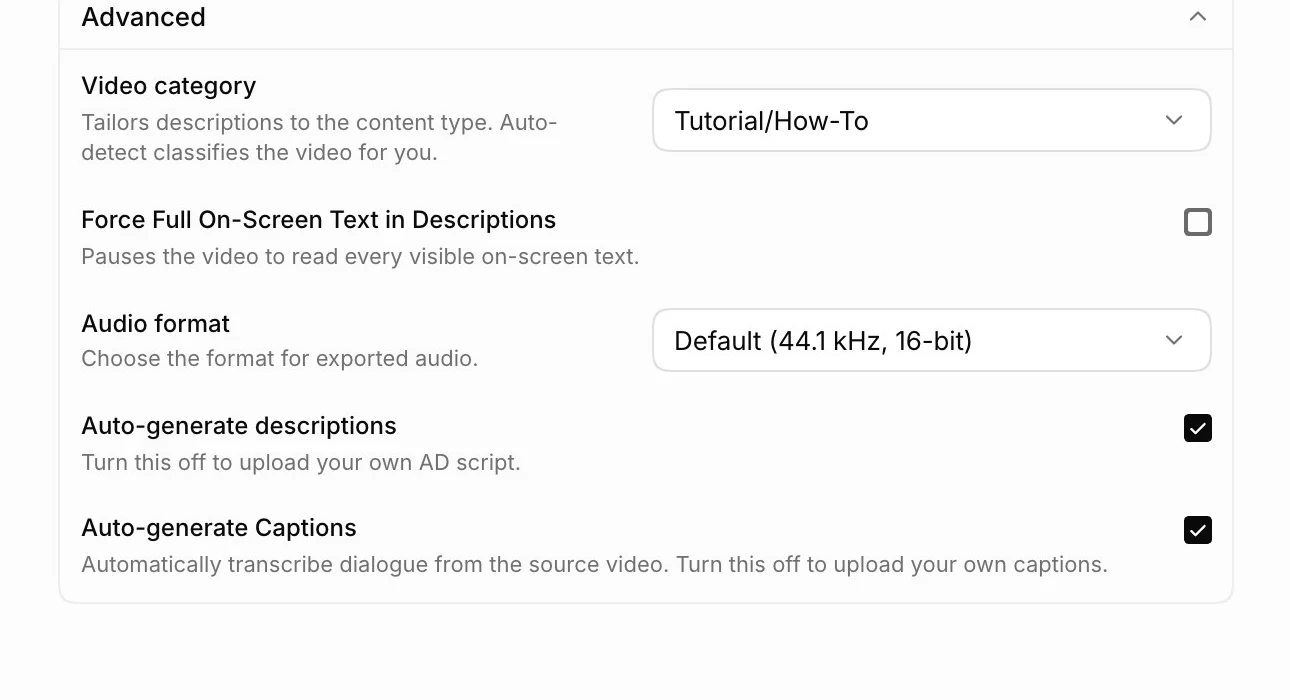
The defaults work for most videos, but you can fine-tune them under Advanced. Video category tailors the descriptions to your kind of video. ViddyScribe detects it for you, but some videos could fit more than one category, so you can pick the right one here, like Educational Lecture or Government Meeting.
Some settings depend on the AD type. With Extended AD, you can have it pause and read out all the text on screen (Force Full On-Screen Text in Descriptions).
With Standard AD, you can choose where descriptions play. By default they avoid dialogue, but you can also keep them clear of singing, or let them play anywhere.
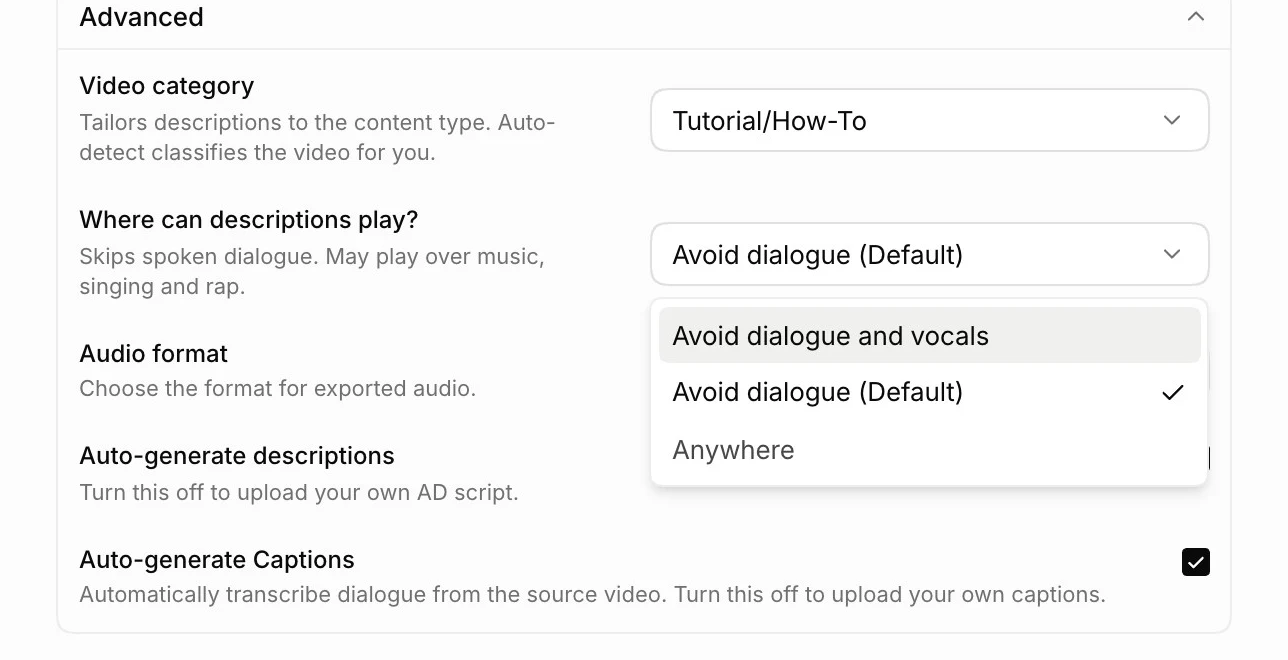
For both, you can pick the audio format, or turn off auto-generated descriptions or captions to upload your own.
7. Save a preset
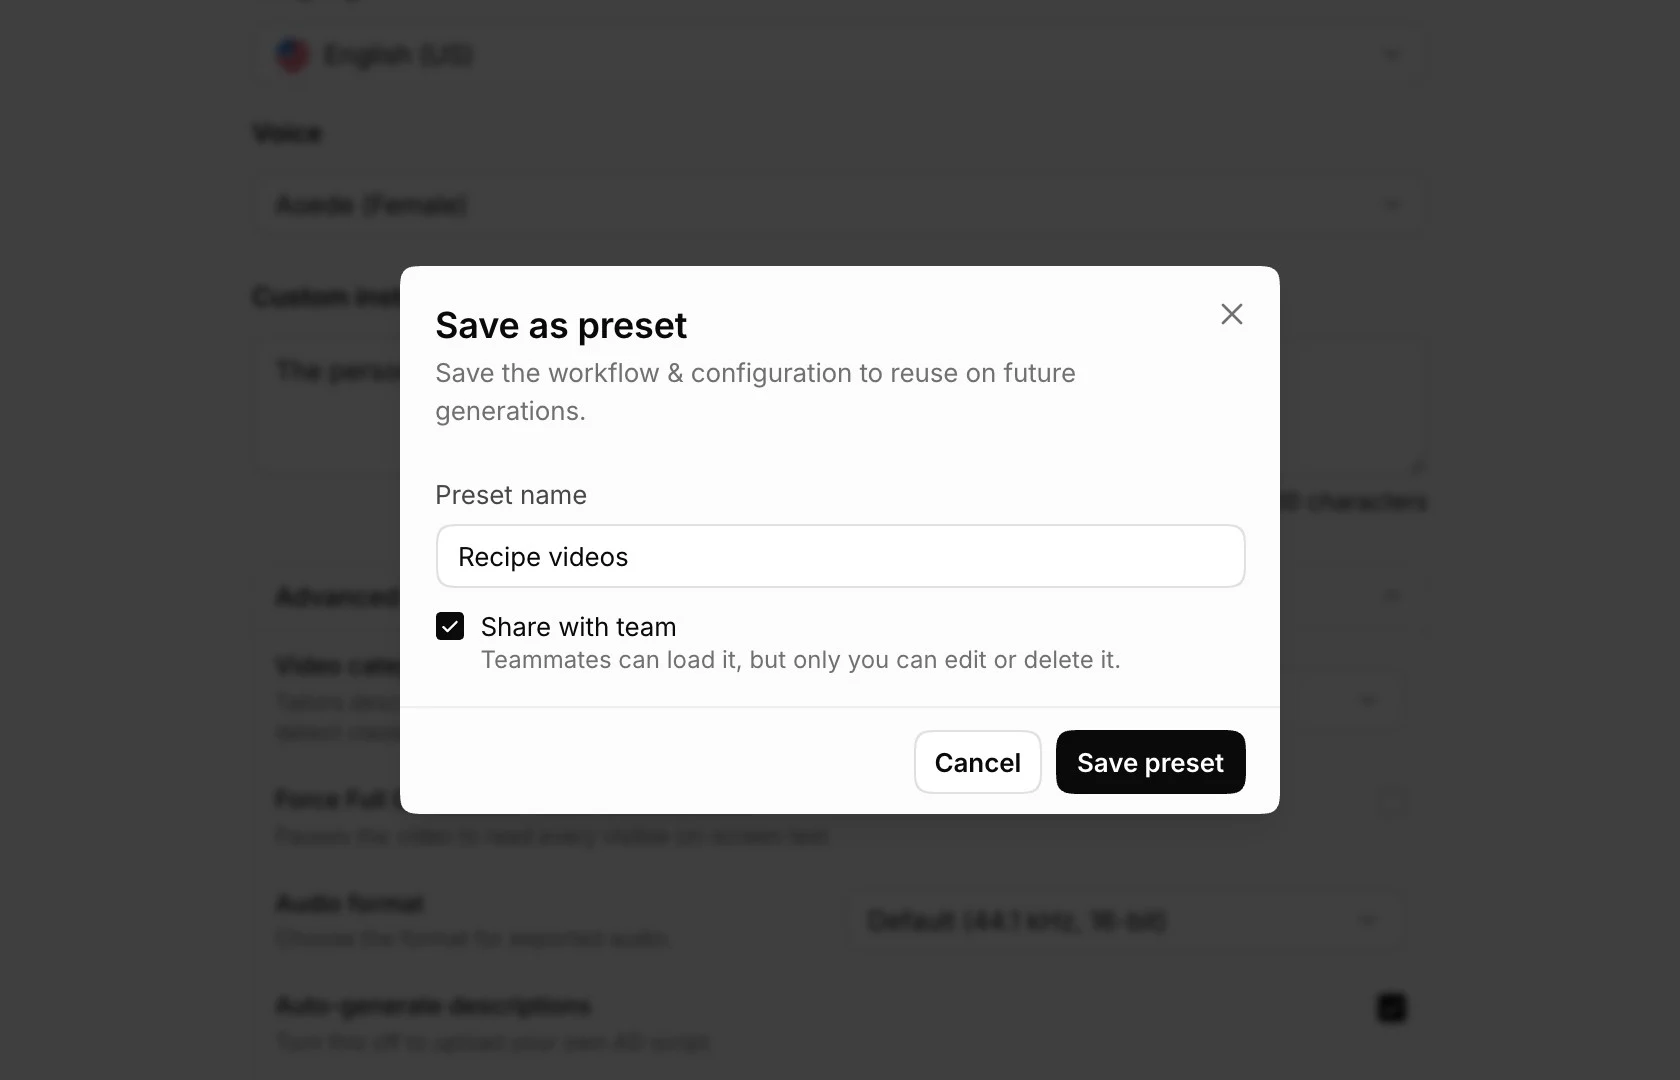
If you use the same settings often, click Save as preset and give it a name. Tick Share with team, and your teammates can use it too.
8. Generate
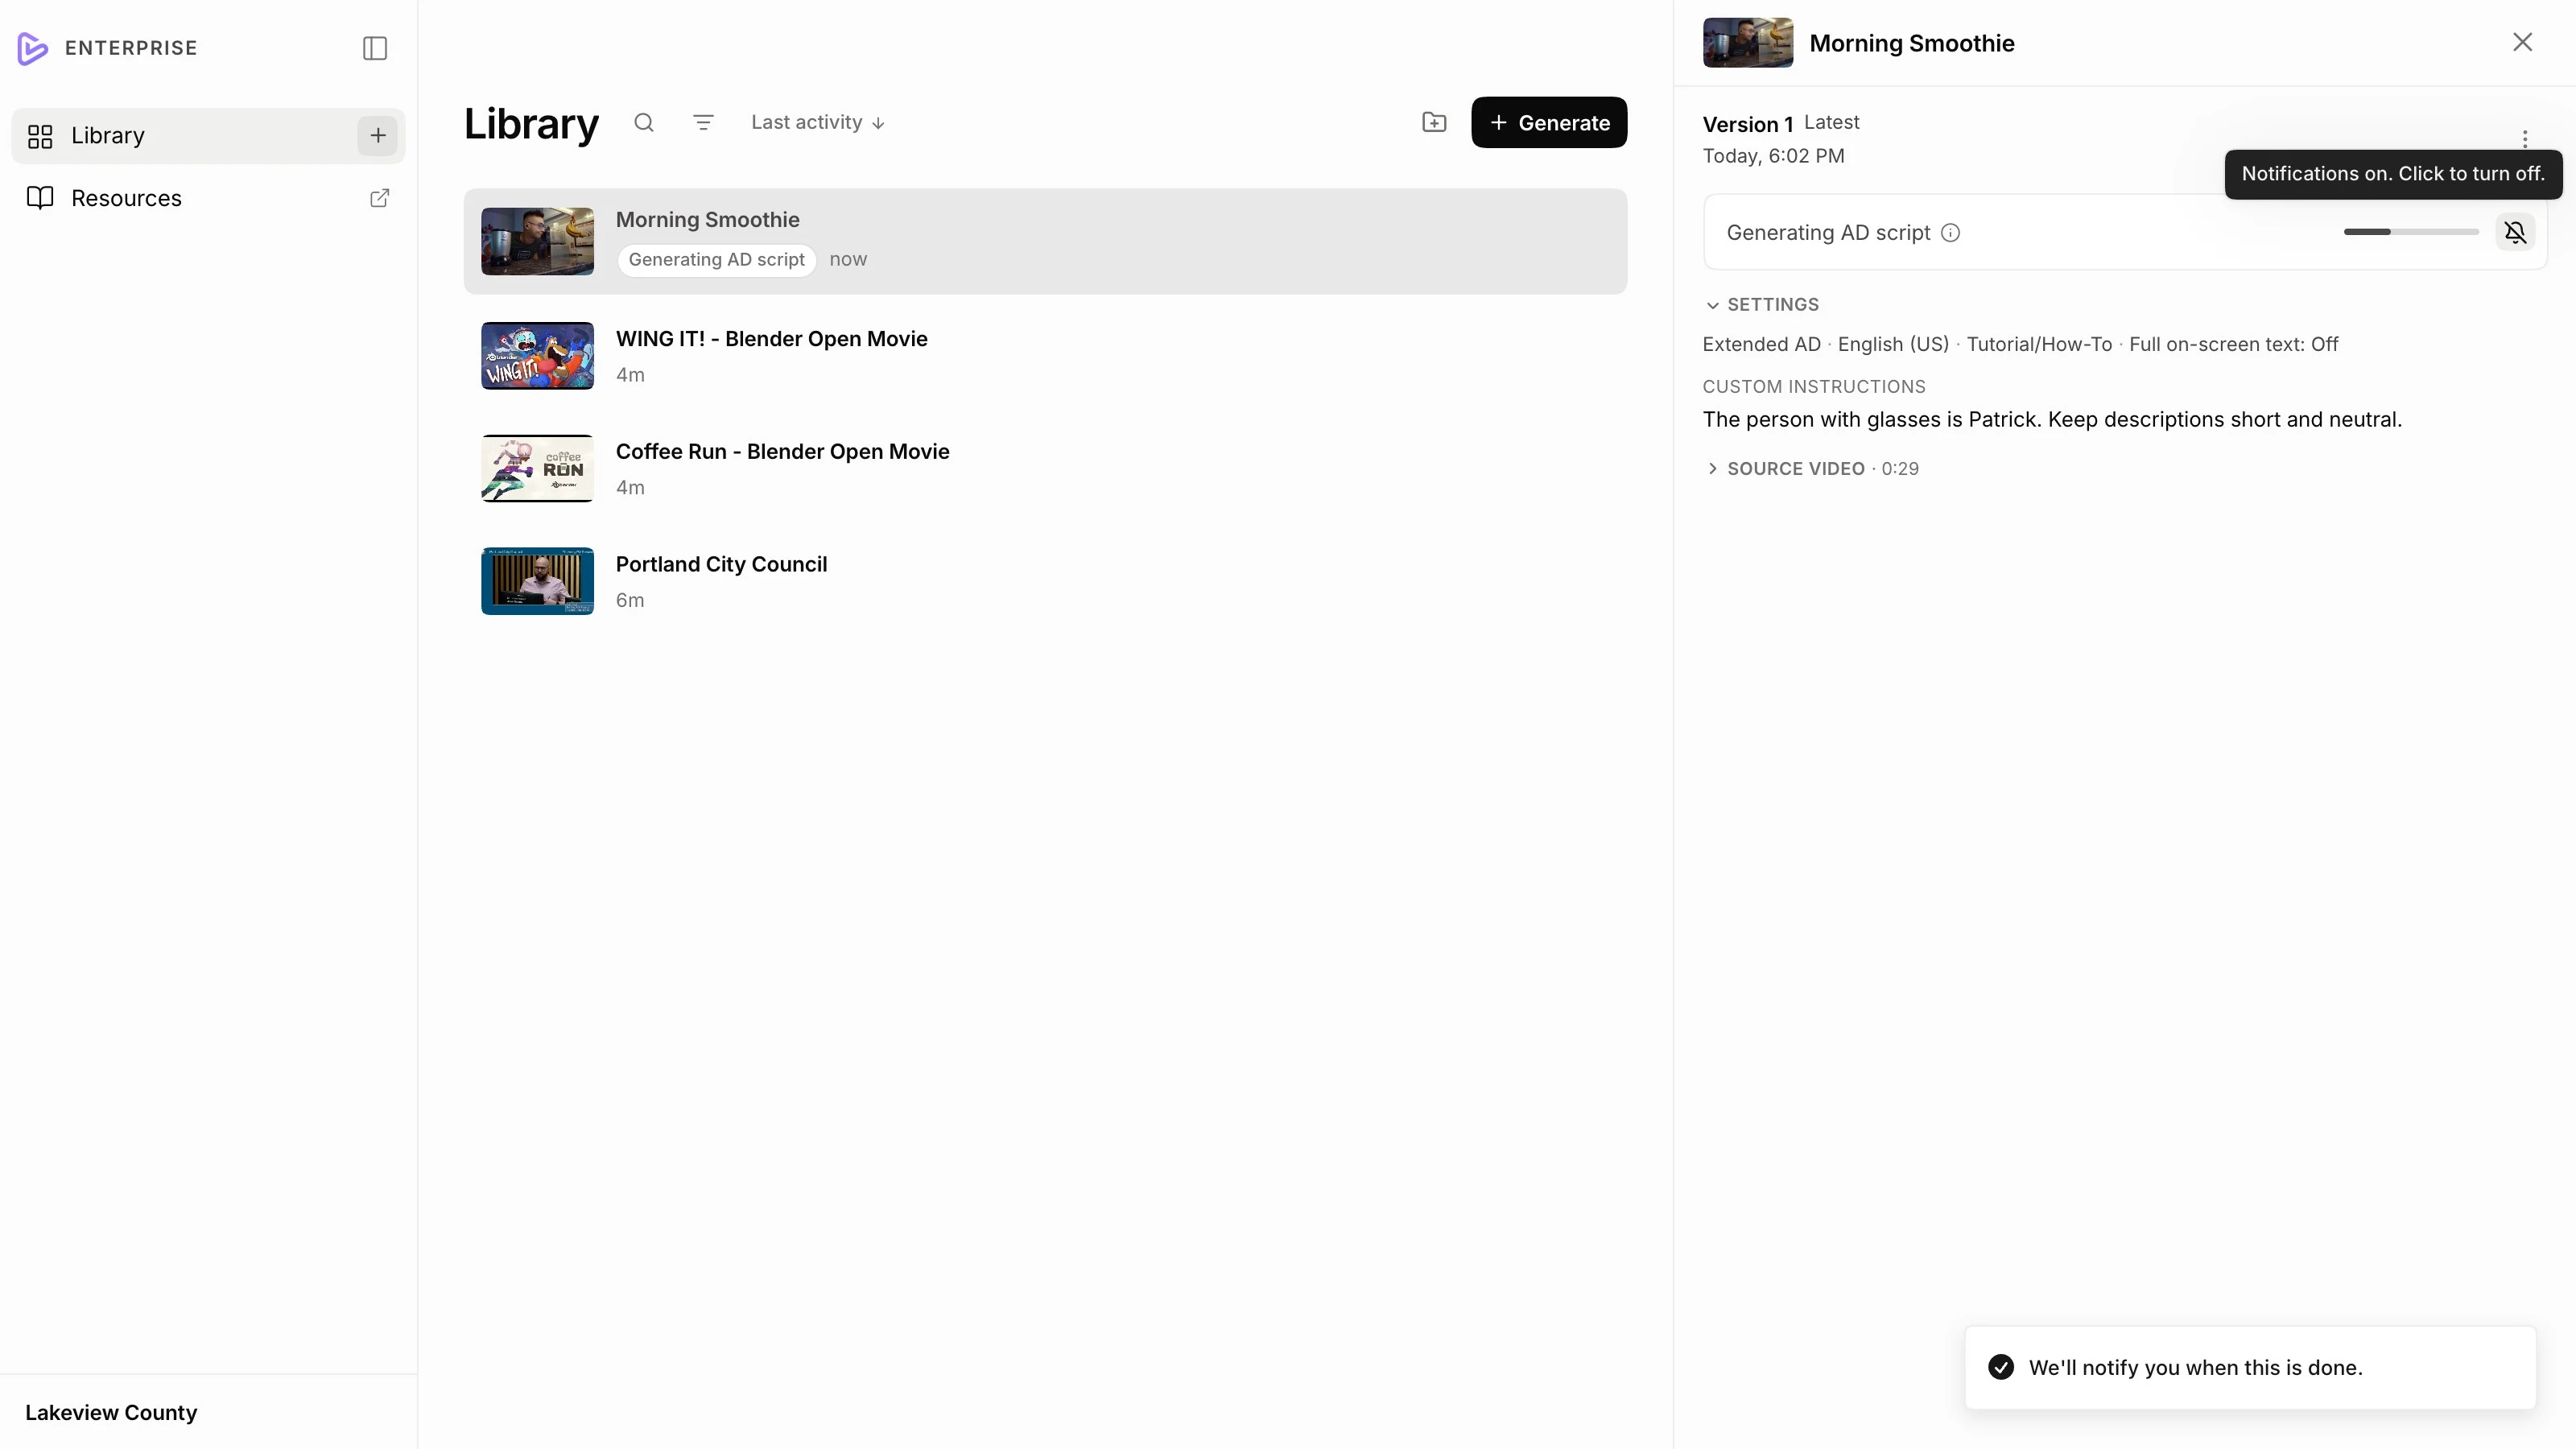
Click Generate. Keep this tab open until your upload finishes. Most videos are ready in minutes, and you can follow the progress in your Library. If you keep ViddyScribe open, click Notify me on the video's panel, and your browser will tell you when it is done.
9. Review the script and render
When your script is ready, click your video. Skim through the script, and click any line to see that moment in the video. Since we chose to review the script, the panel shows Review & render. Click it to check and edit your script in the full editor: see How to Edit Extended AD or How to Edit Standard AD.
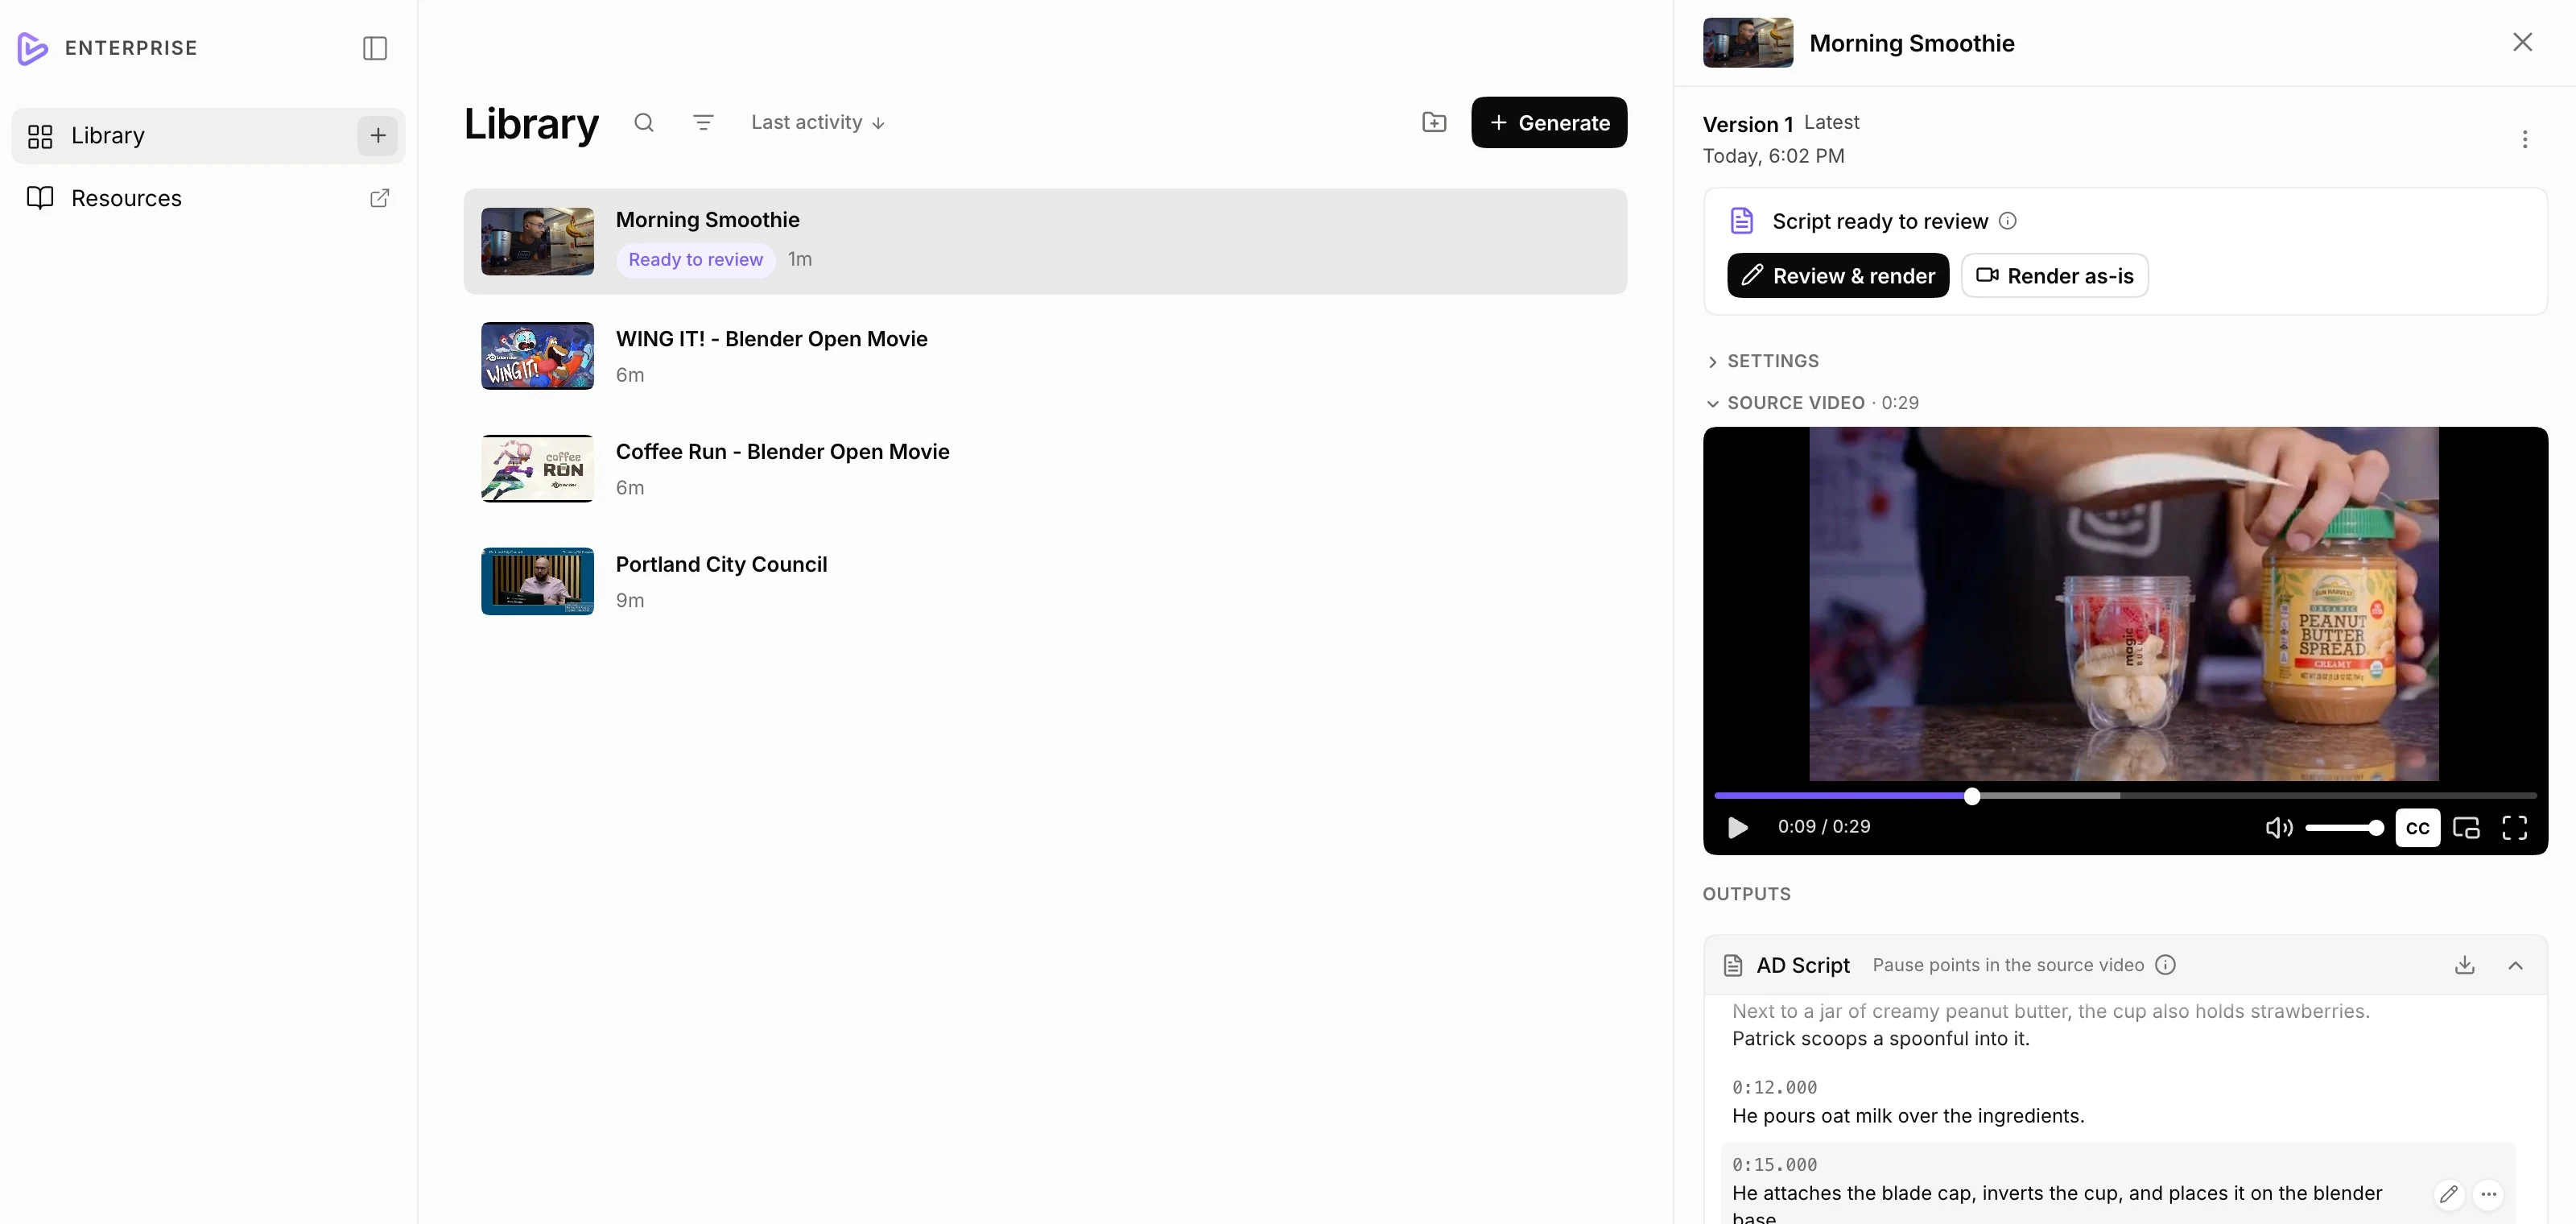
When you are happy with it, click Render, then Render video.
10. Download
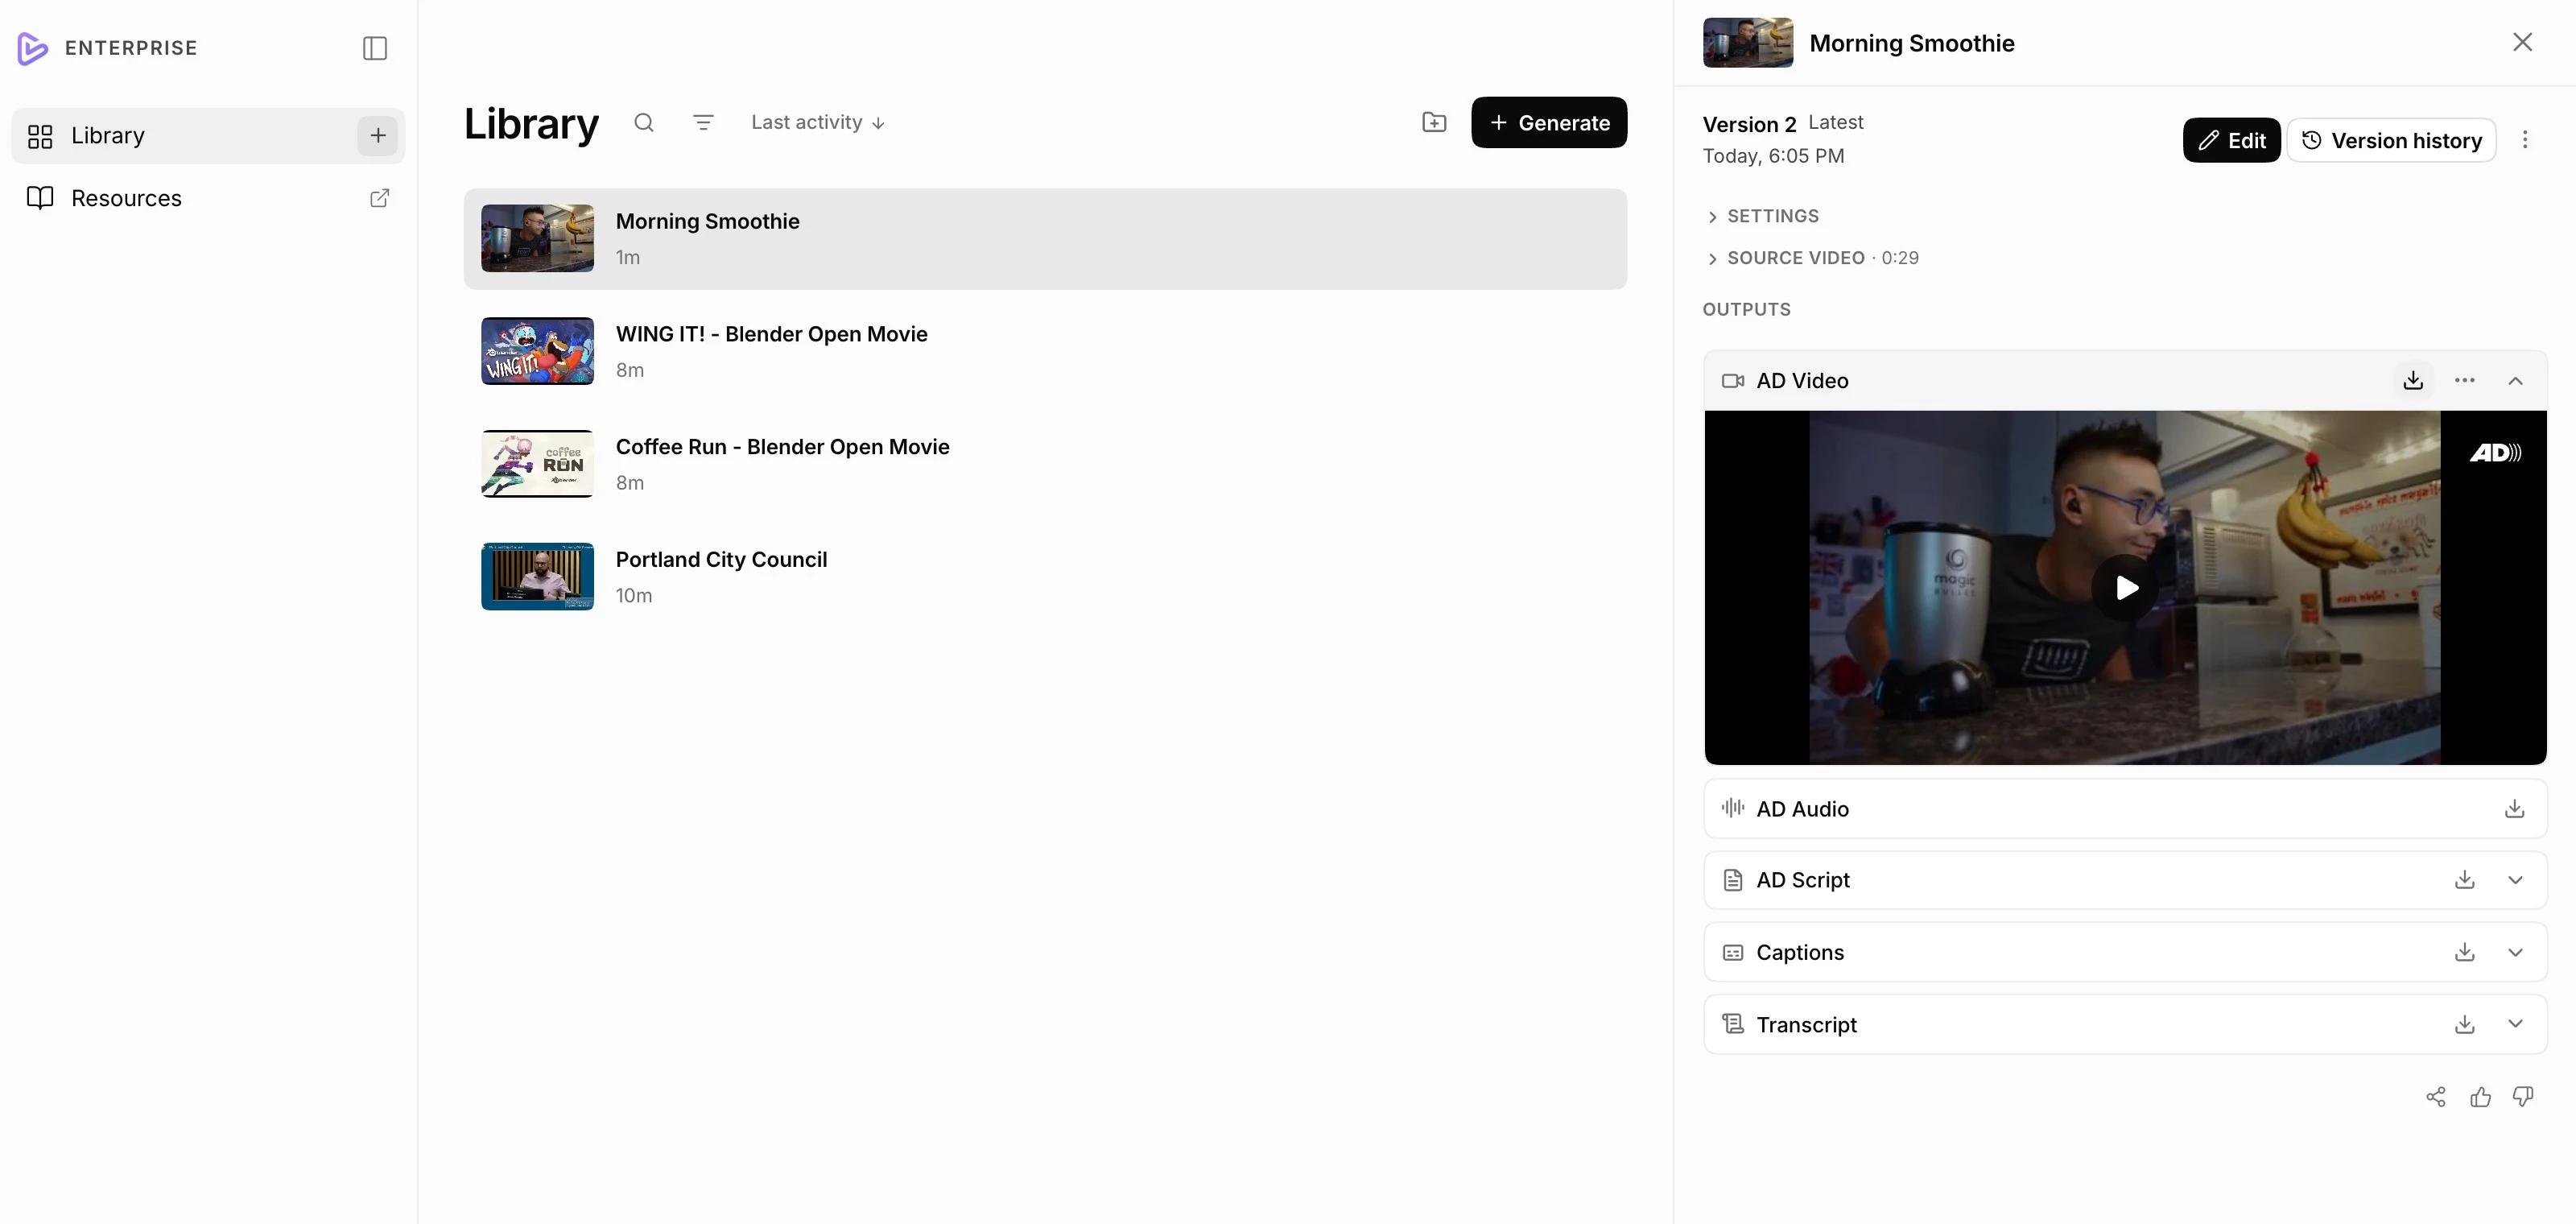
Within a few minutes, the video is rendered and ready to use anywhere. Click Download on the AD Video to save it. The audio, the script, captions, and a transcript are all there too.
11. Keep things tidy
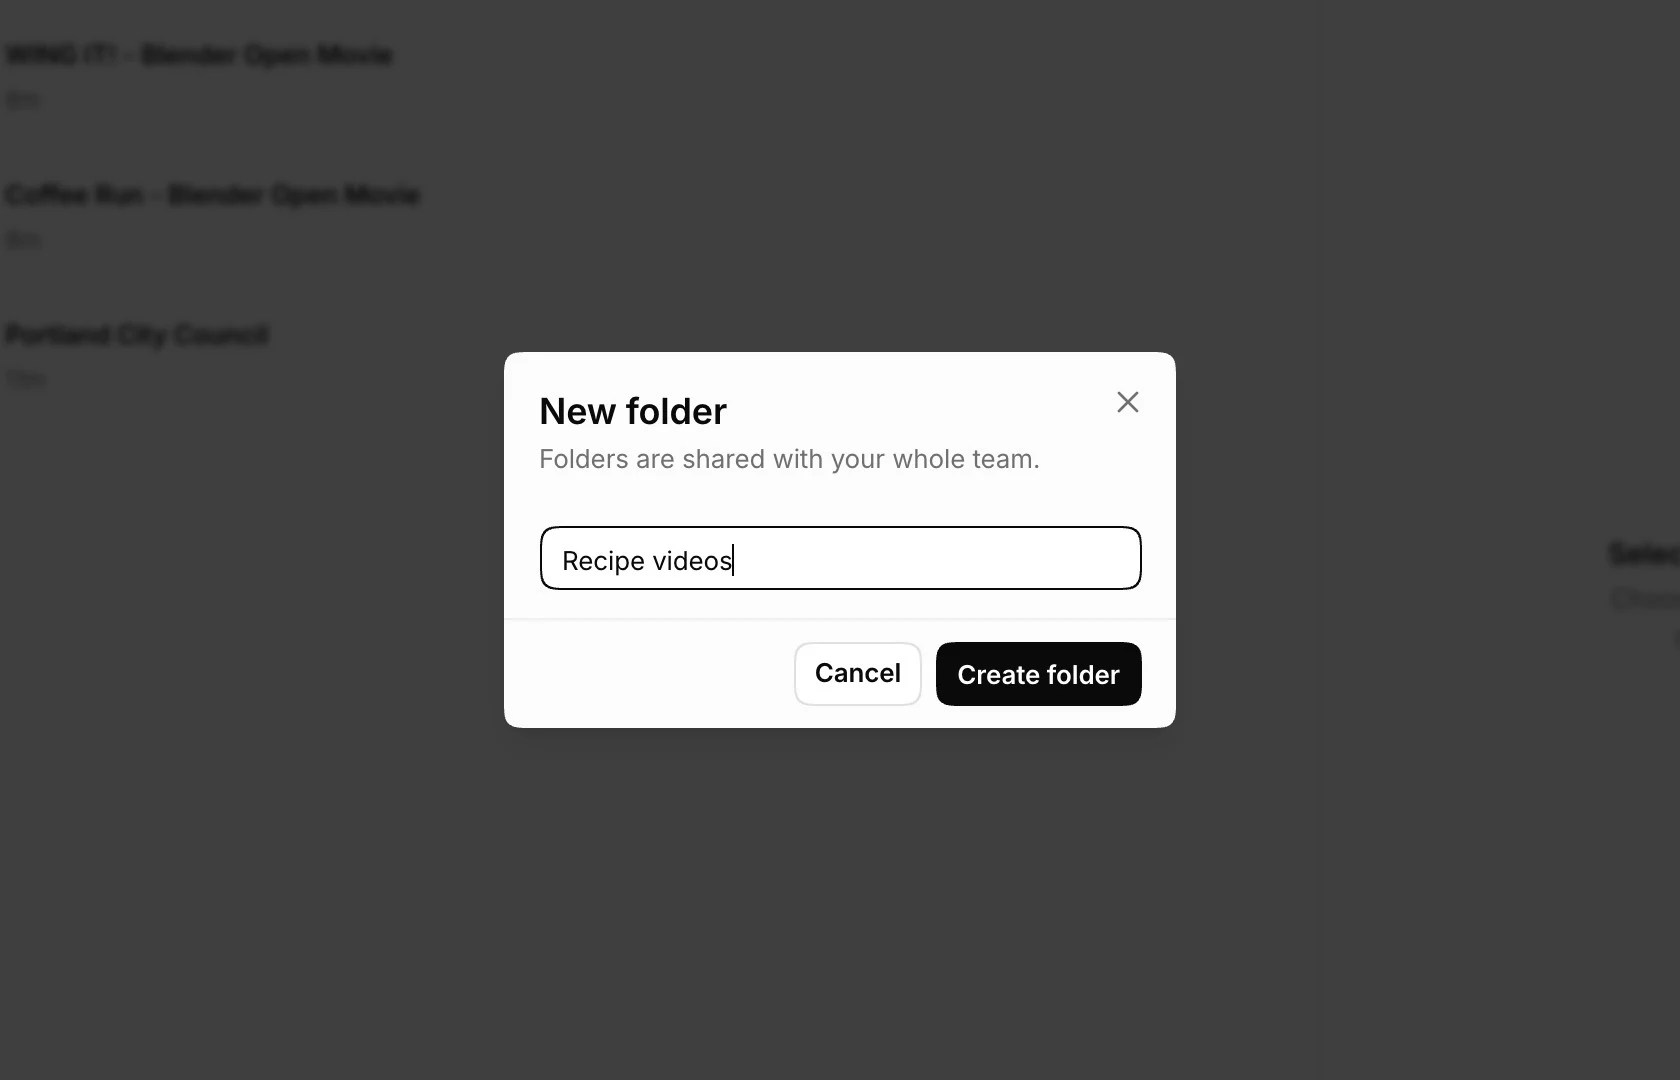
To keep things tidy, put videos in folders. Click the folder button next to Generate to make one, then drag your videos in.
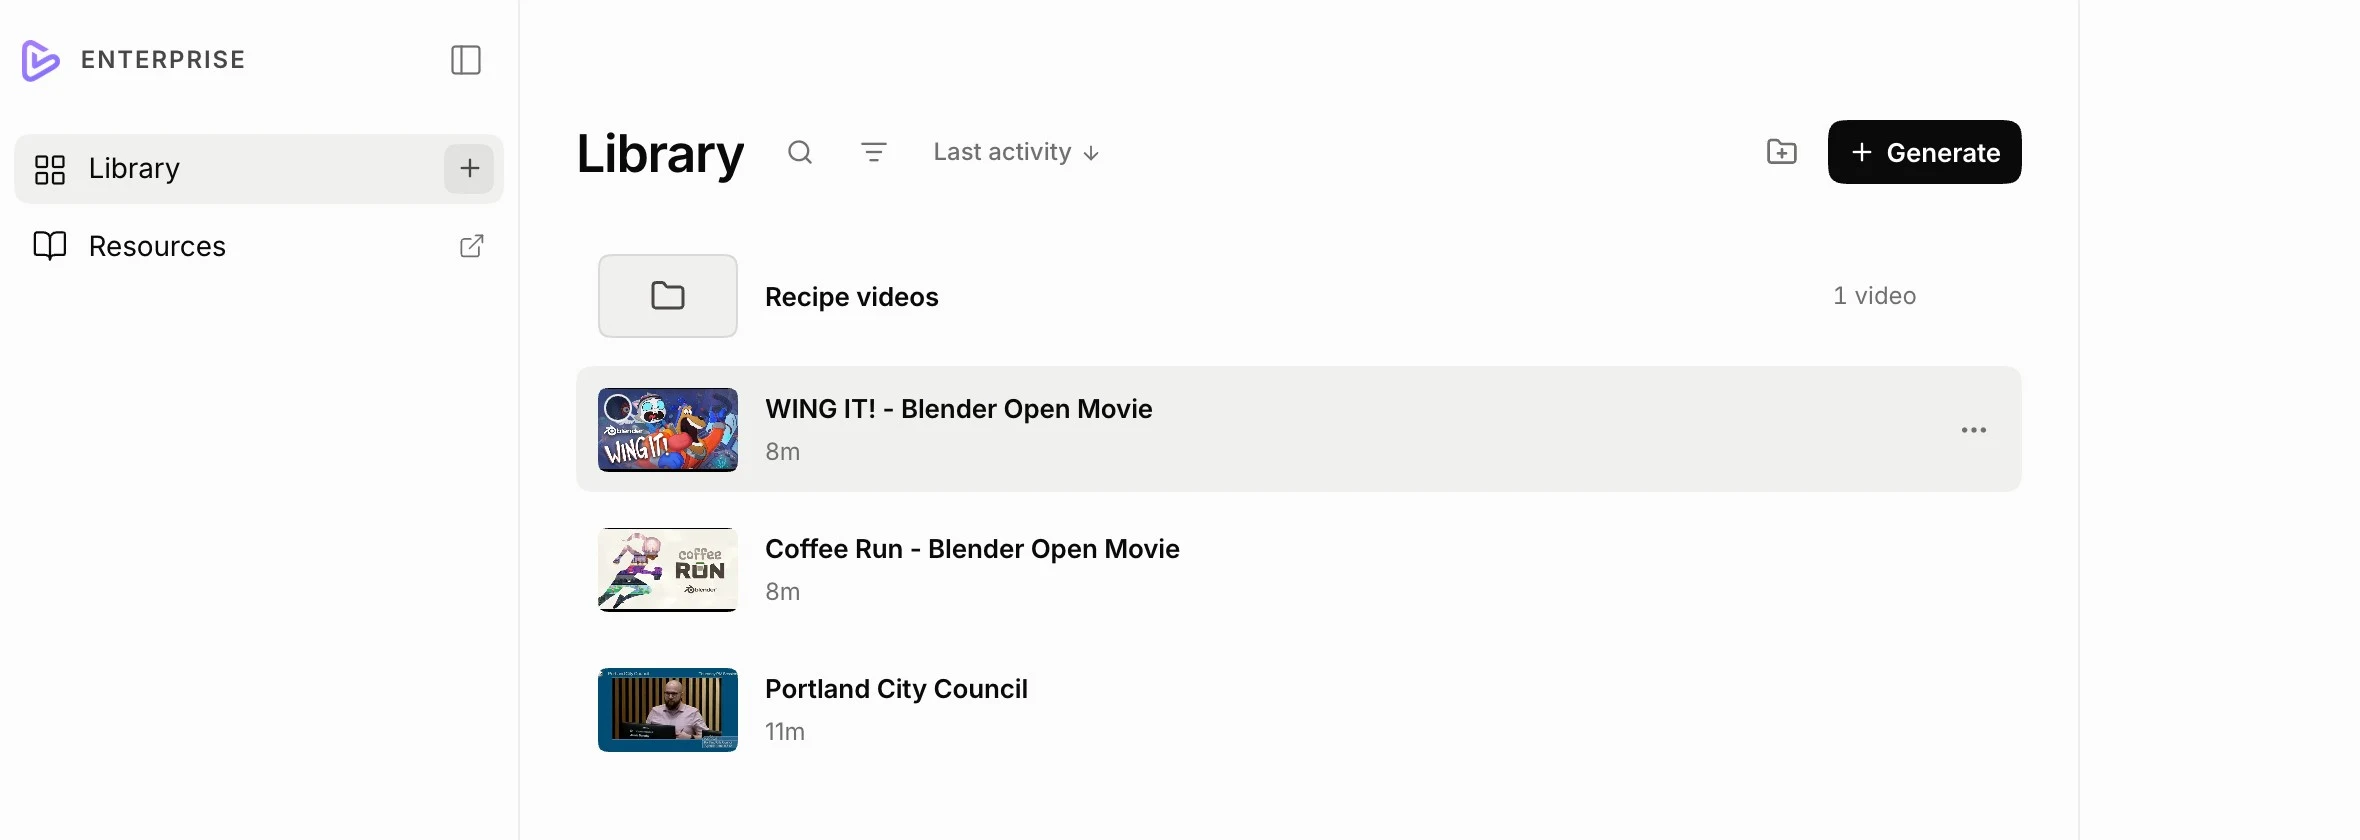
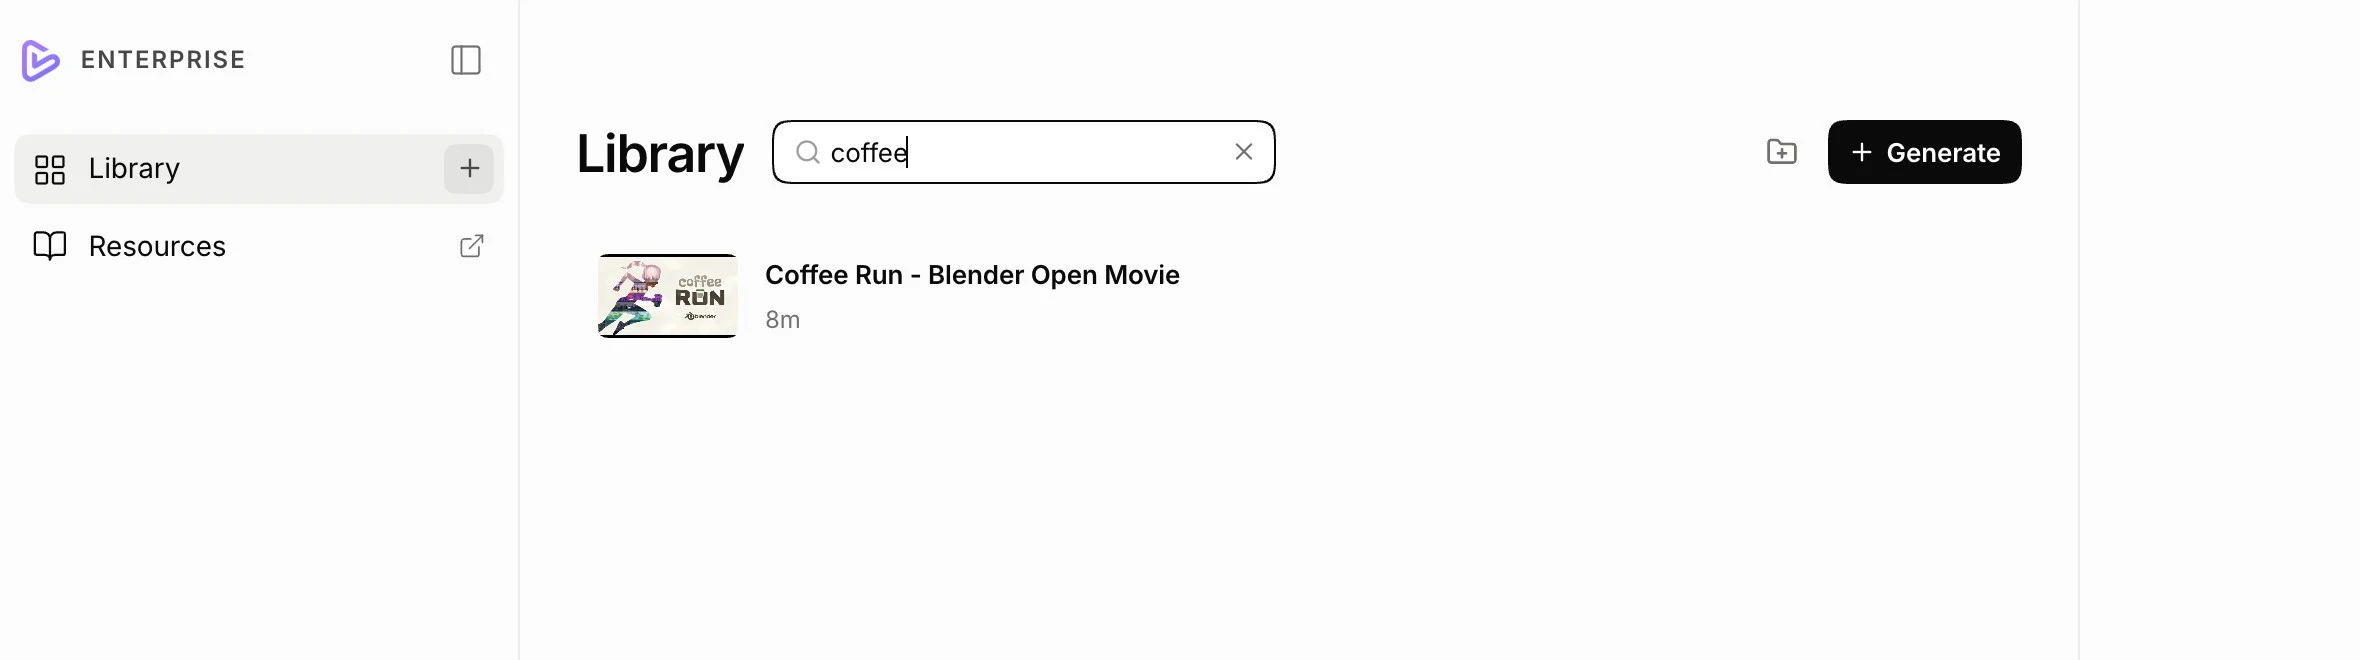
When you need to find a video, just search for it.
12. Bring in your team
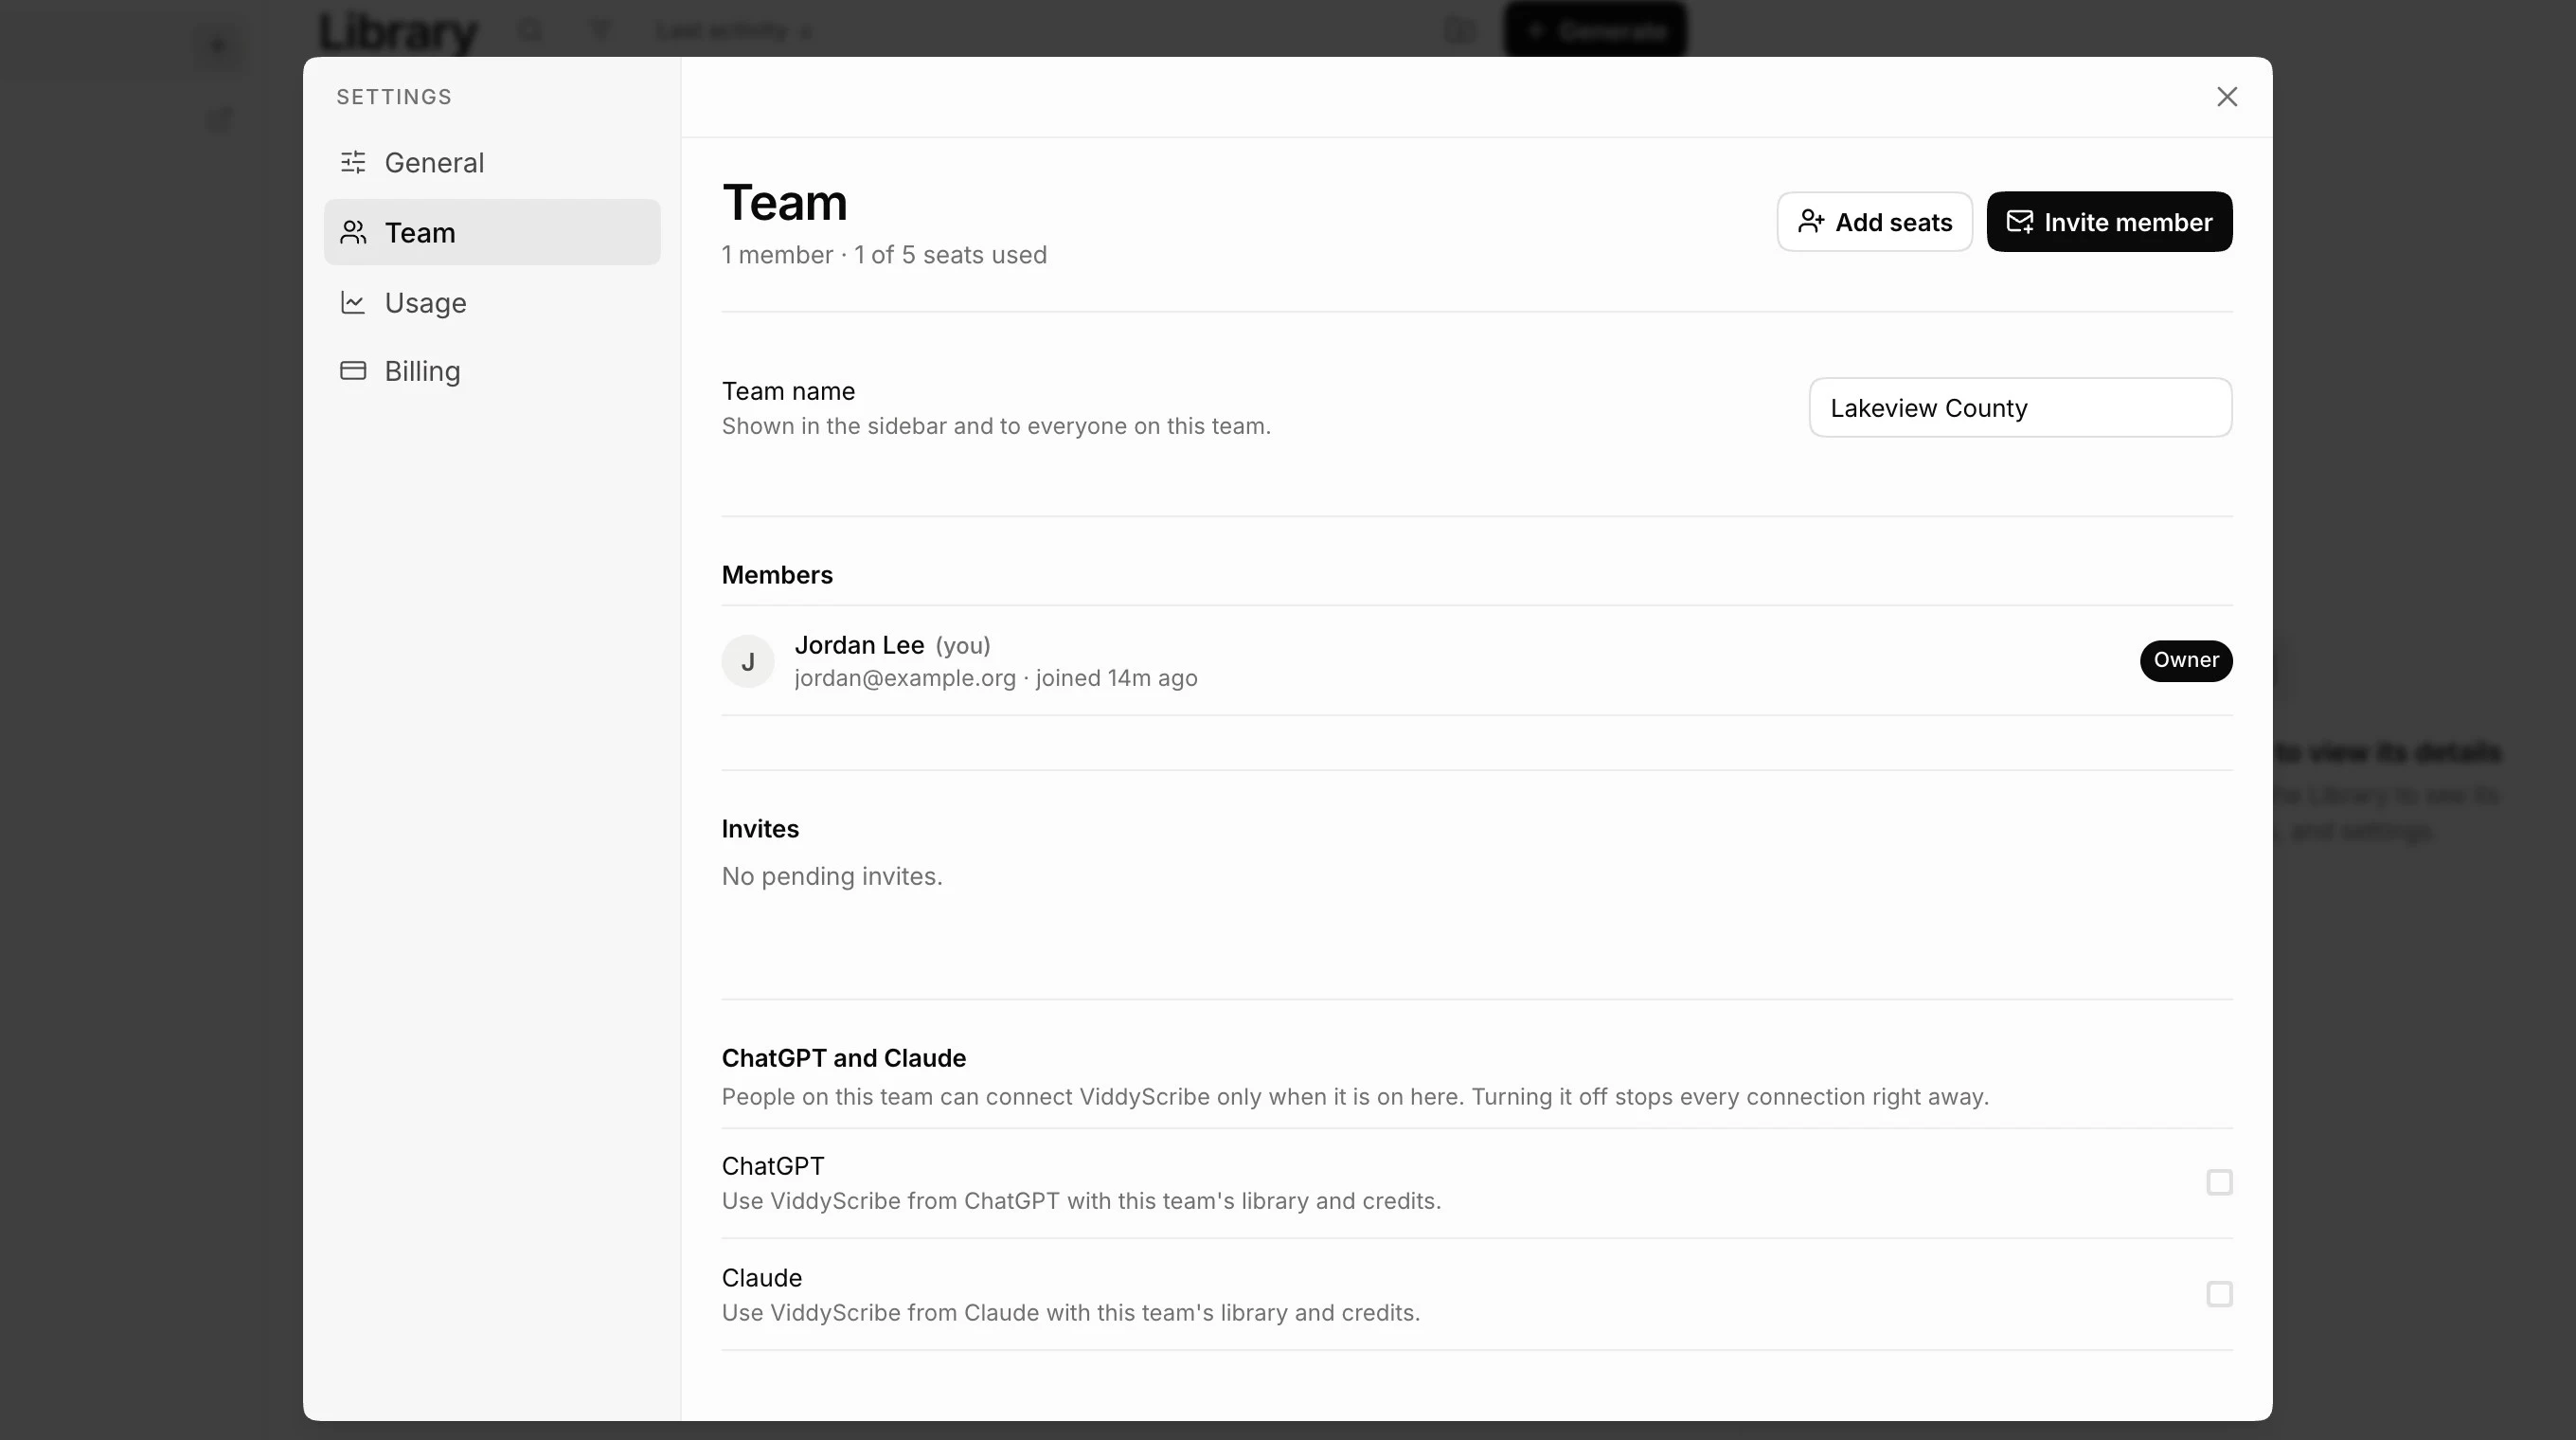
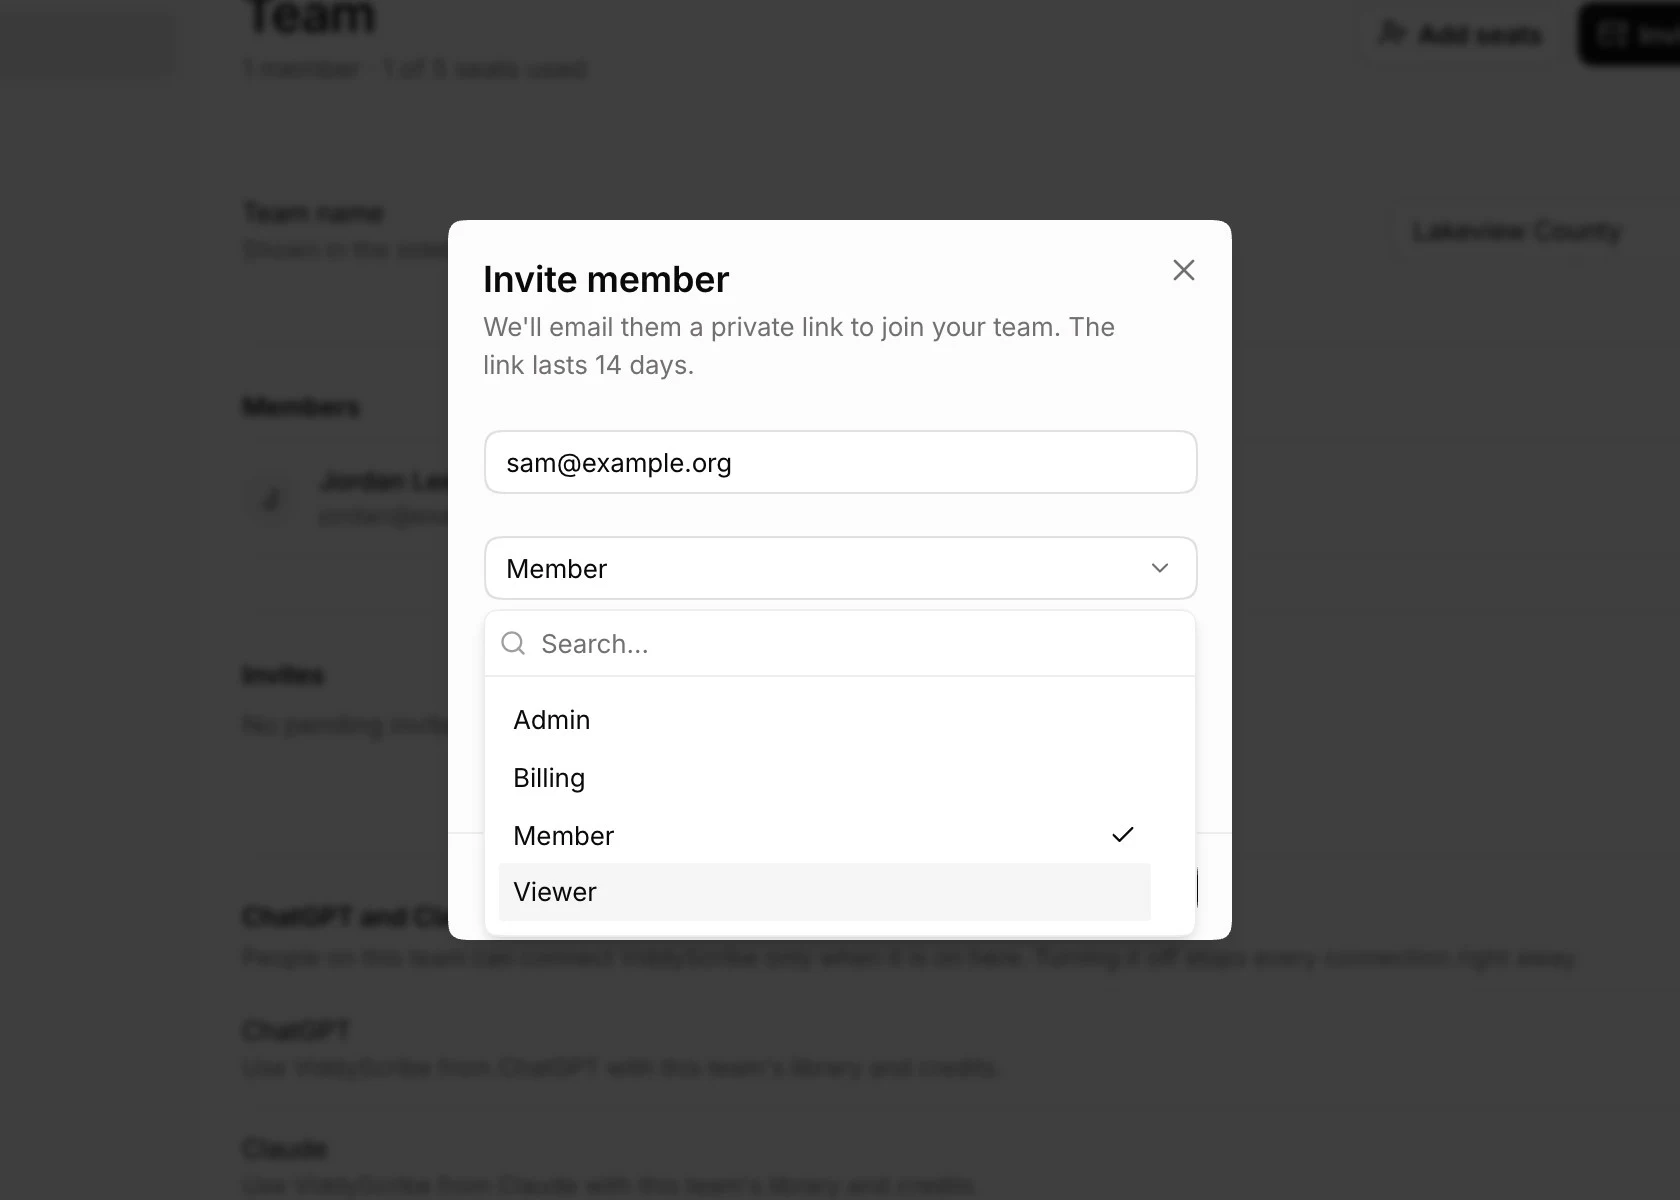
Click your team name at the bottom left and open Settings. Under Team, owners and admins can invite people and choose what each person can do.
13. Get help
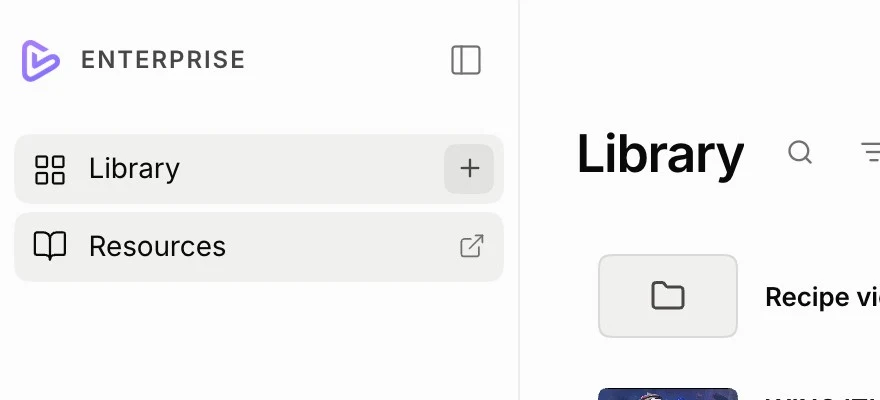
If you ever get stuck, Resources in the sidebar has guides, docs, and FAQs.
FAQ
Can I review and edit the descriptions before generating the final audio or video?
Do I need to change the generation settings?
Why did my video get only a few descriptions?
What files can I download, and which output should I use?
The available downloads depend on your AD type and the output you chose:
- AD Video (MP4): Your video with audio description baked in. Use this when publishing a complete described version, including Extended AD.
- AD Audio, Mixed (Standard AD): The original soundtrack combined with audio description. Use this as an additional audio track on a compatible video platform.
- AD Audio, AD only (Standard AD): Only the description narration. Use this when mixing the narration yourself in an editing application.
- AD Script: The written descriptions and their timing, in VTT, SRT, JSON, or EDL.
- Captions: Caption files supplied separately from the video; they are not burned into the picture.
- Transcript: A text version combining spoken content with the descriptions, useful for readers who prefer to review the content at their own pace.
Dashboard generations include captions and a transcript. Download available files from the video's panel in the Library.
Can I add audio description to an existing YouTube video without losing its URL, views, or comments?
Yes, if your YouTube channel has access to the additional audio-track feature.
Generate Standard AD, then download AD Audio (Mixed), which contains both the original soundtrack and the audio description. Add that file as an additional audio track to the existing video in YouTube Studio. Because you’re updating the existing video, its URL, views, and comments remain attached to it.
The audio track must match the existing video’s runtime, so use the same source edit. Extended AD adds pauses and changes the runtime, which means it needs to be published as a separate video. You can link that version from the original video’s description.
Will ViddyScribe work with my current CMS, LMS, or video player?
Make Your Videos Accessible in Seconds
98 languages · Standard & Extended AD · VTT, audio, and video